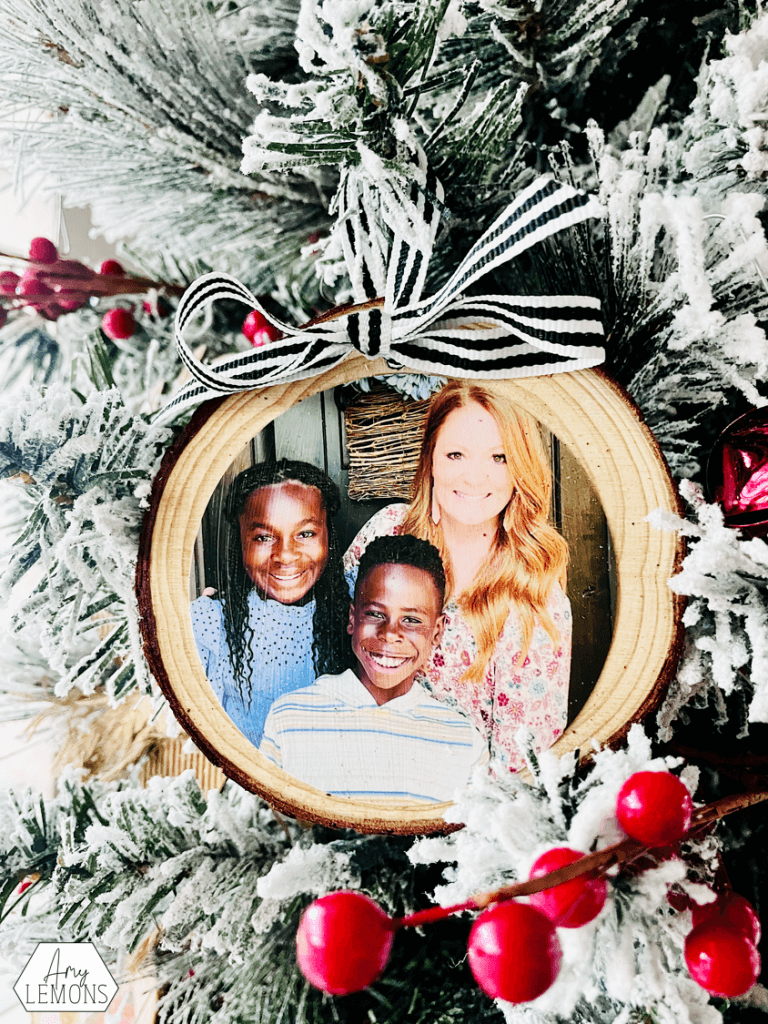
During the holiday season I love sharing family traditions, classroom activities, and all things Christmas. Today I want to share a sweet and sentimental ornament idea with you. These picture perfect ornaments are a great way to treasure special moments with your friends, family, or students.
Typically I share student-made and kid-friendly ornaments with you. Kids could definitely help making these, but it’s something I did on my own. I just didn’t have enough of the materials to share with little helpers! Originally

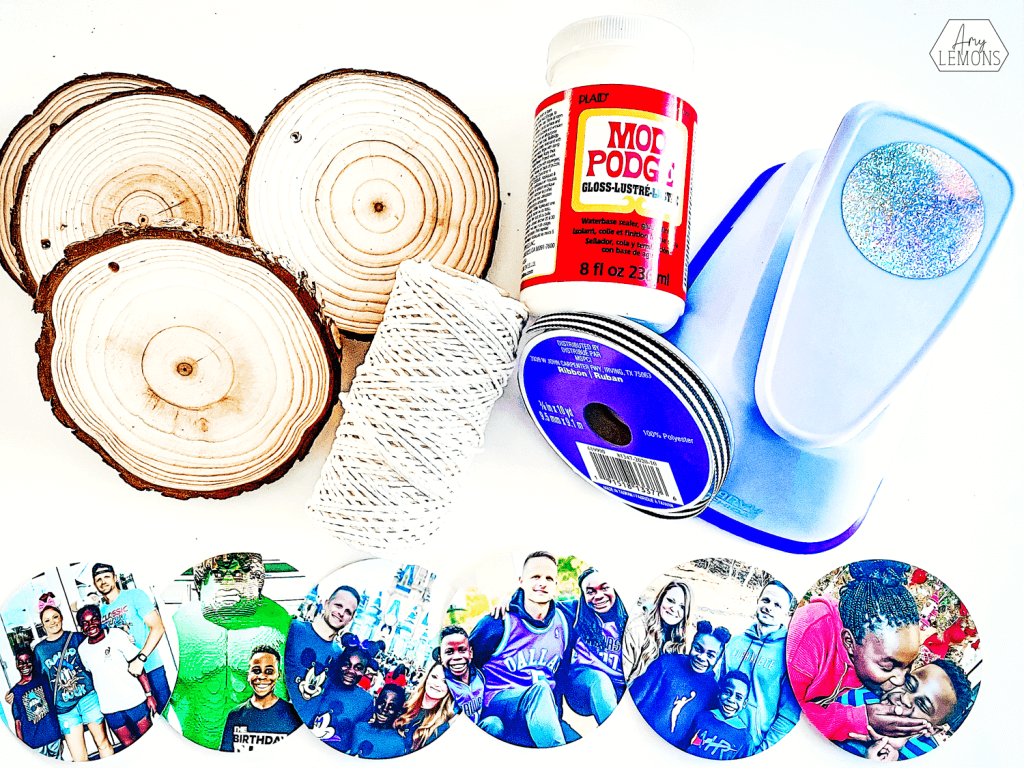
Materials Needed
The nice thing about these photograph ornaments is that you don’t need a lot of materials. AND, they make such cute keepsakes that you’ll enjoy for years to come!
- Wood Slices: I used the 3.5-4 inch wood slices, but you could definitely go with smaller ones.
- Mod Podge
- 3 inch circle craft cutter: I have THIS one, but click HERE for another option. Since my slices were 3.5 inches I chose the 3 inch option
- Craft Ribbon: I’ll talk about this in a bit, but twine would have been much easier. I just wanted to add a bow. I used red-striped ribbon and black-and-white striped ribbon.
- Pictures: I printed all of my pictures in the size 4 x 6
The Assembly
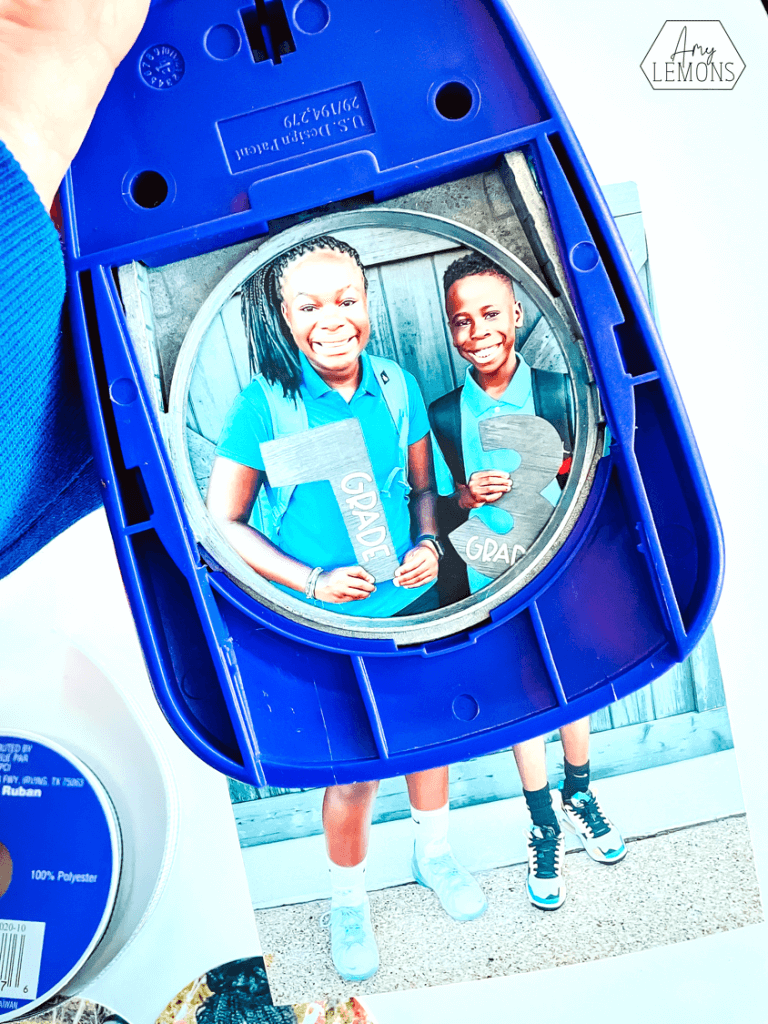
Let’s take a moment for this circle cutter. Why have I been cutting out my own circles for all of my life? This thing is GLORIOUS!!!!!
I had a variety of 4×6 pictures printed from throughout the year. It would also be so precious to print pictures of your students. You could make an ornament for each student to take home… what a precious keepsake for their parents! I used the puncher to get all of the pictures ready.
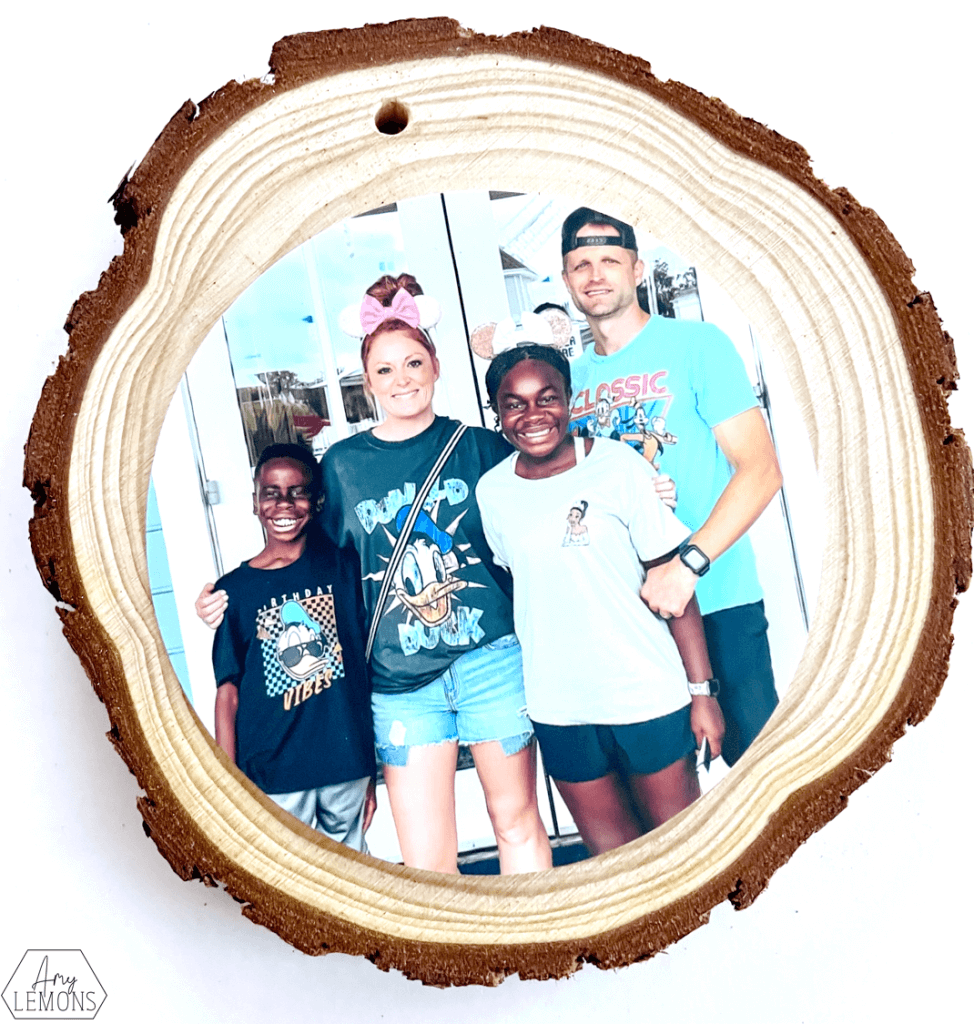
After the pictures were cut out, I used mod podge to glue the picture to the wood slice. I just got an old paintbrush and painted a thin layer of mod podge onto the back of the picture. Once it was secure, I also painted a thin layer on top of the picture. It gives it a vintage, brushed type of look plus helps secure it even more.
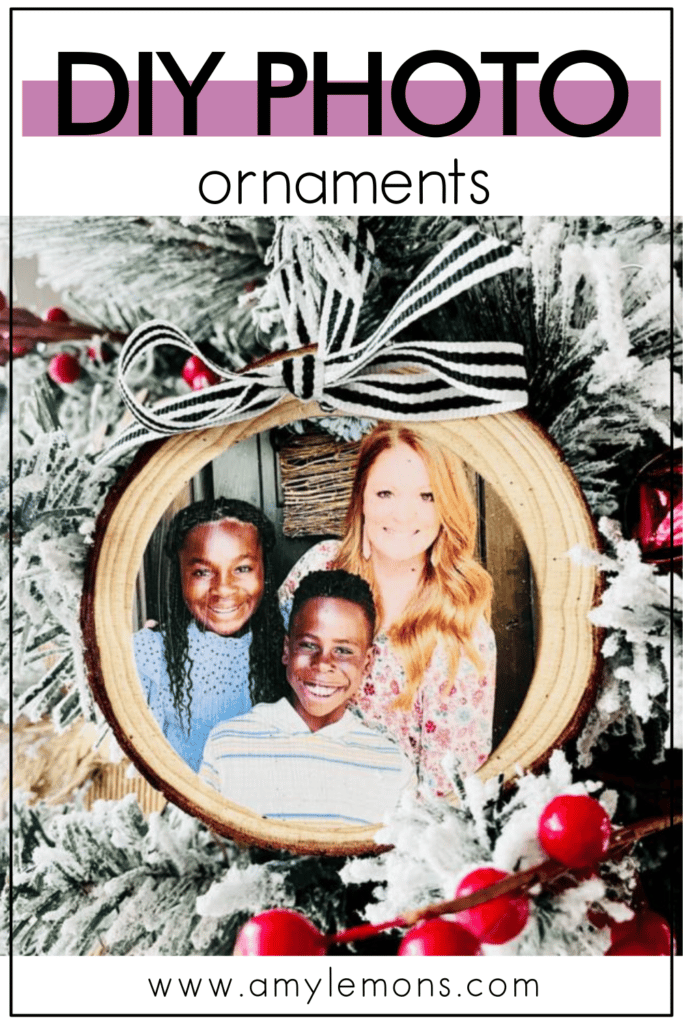
Then came the ribbon! Like I mentioned earlier, the twine would have been 10 times easier to use since the holes in the wood slices are very small BUT I wanted the look of ribbon. So, I had to widen the holes with scissors and shove the ribbon through it. It was kind of a pain, but I still love the finished look. I tied the ribbon to where there was a bow in the front and a loop to hang it from as well. Then I used a dab of hot glue to secure the bow to the front of the ornament.
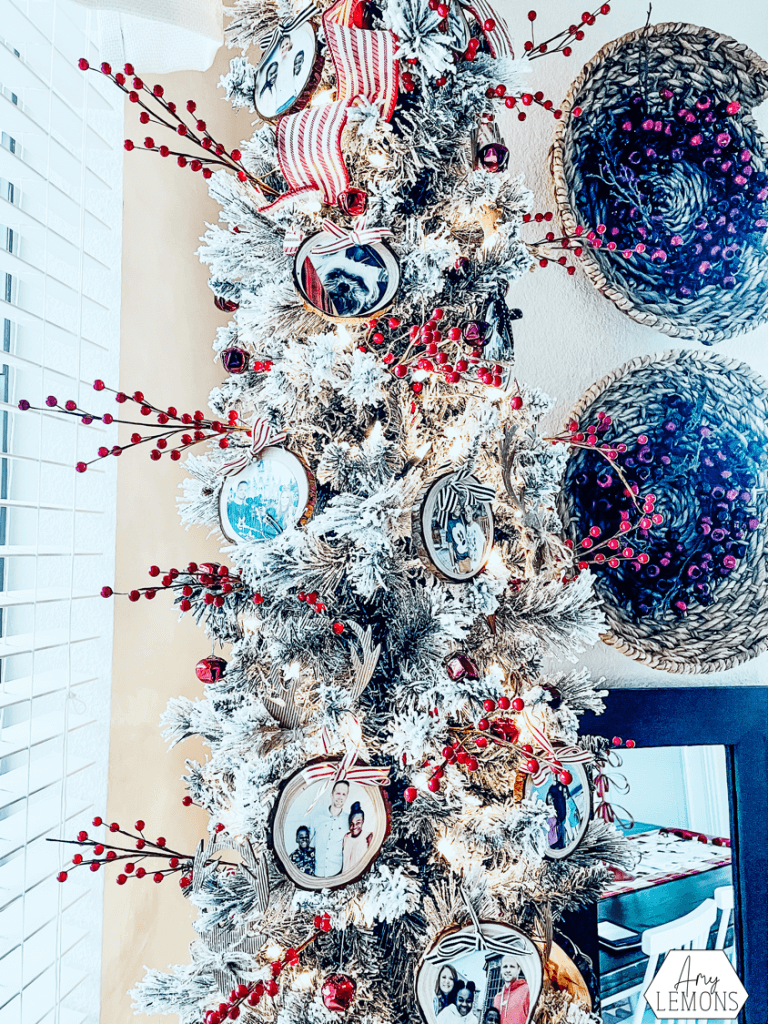
The Finished Look
Once I had all of my ornaments ready to go, I added them to this 9 foot pencil tree we have in our breakfast nook. Now we have all of our memories from throughout the year right by where we eat dinner every night as a family. I used about 30 of the picture ornaments to fill up this tree.
PS: I always find the best pencil trees at Wal-Mart for right around 100 bucks. I can never find them online, but in store they always have great options and deals!
{Amazon Affiliate Links were used in this post}
Save for Later
Pin this image to save for later!