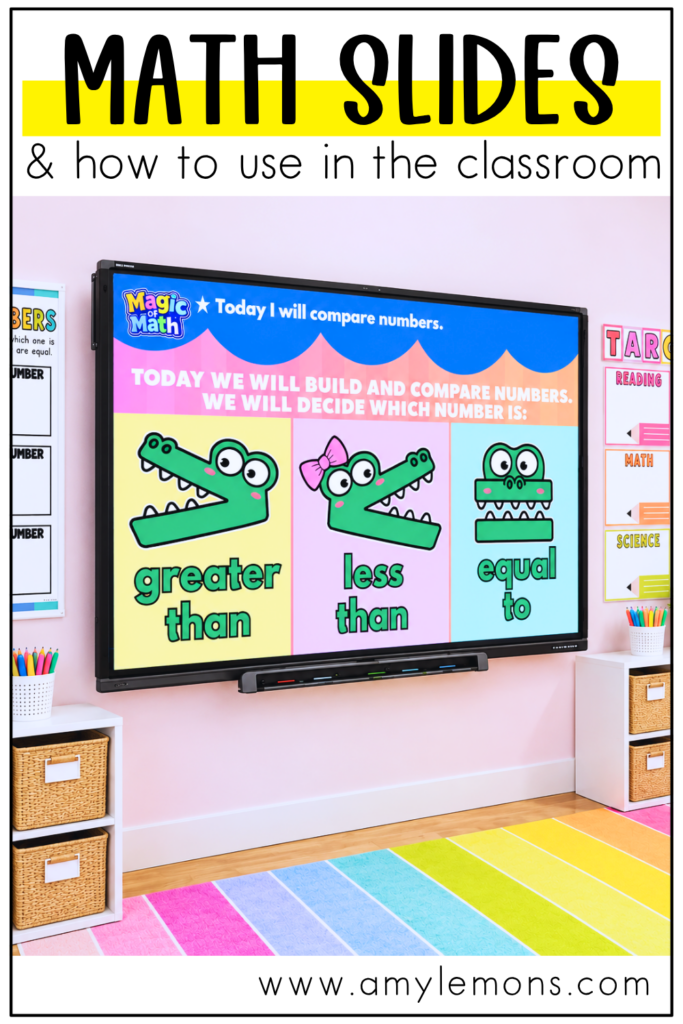
There’s a lot happening during an elementary math lesson. You’re introducing a skill, modeling your thinking, asking questions, using manipulatives, giving directions, passing out materials, checking for understanding, and eventually getting students ready to work independently. Even with a great lesson plan in front of you, there are still so many pieces to manage.
That’s exactly why we created Magic of Math Instructional Math Slides. These slides aren’t meant to replace hands-on math instruction. They’re designed to enhance it by giving teachers the visuals, models, examples, directions, and lesson prompts they need right when they need them.
Our goal was to take everything we love about Magic of Math and make it even easier to teach. That means less time creating presentations and preparing instructional visuals, and more time focusing on your students and the actual math.
What Are Magic of Math Instructional Slides?
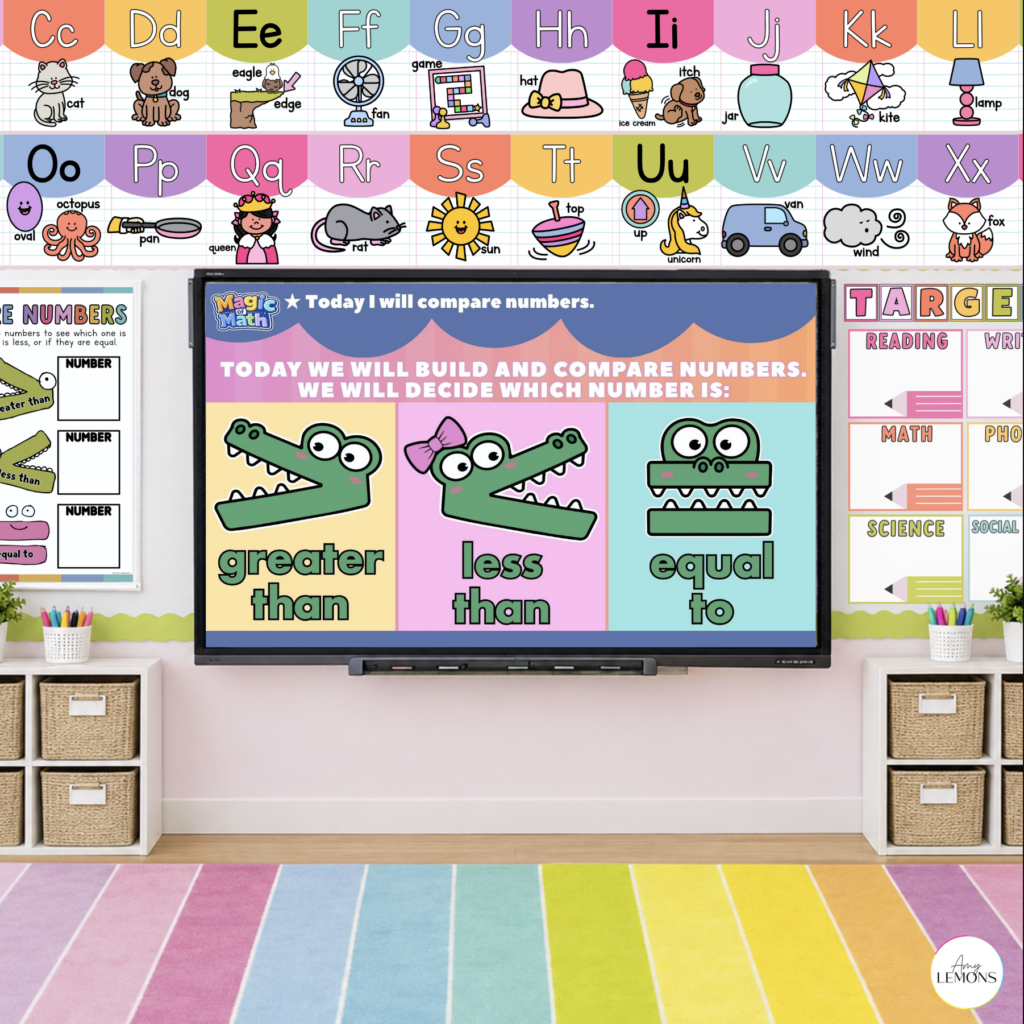
Think of the instructional slides as a ready-to-teach visual guide that walks you through your math lesson from beginning to end. Rather than creating your own presentation, writing every example on the board, or stopping throughout the lesson to figure out what comes next, the slides keep the lesson organized and moving.
We created the Magic of Math Instructional Slides specifically to pair with the lessons and activities in our Magic of Math curriculum. Depending on the lesson, you’ll see a daily word problem, learning target, vocabulary, visual models, step-by-step instruction, guided practice, activity directions, materials, and independent practice. They aren’t a separate curriculum or something extra you have to figure out how to fit into your day. They’re there to make the lessons you’re already teaching easier to present.
Use Math Slides to Guide Instruction
One thing that was really important to us when creating these slides was keeping the hands-on nature of Magic of Math. We don’t want students spending their entire math block sitting and watching a presentation. The slides are there to guide the teacher while students do the math.
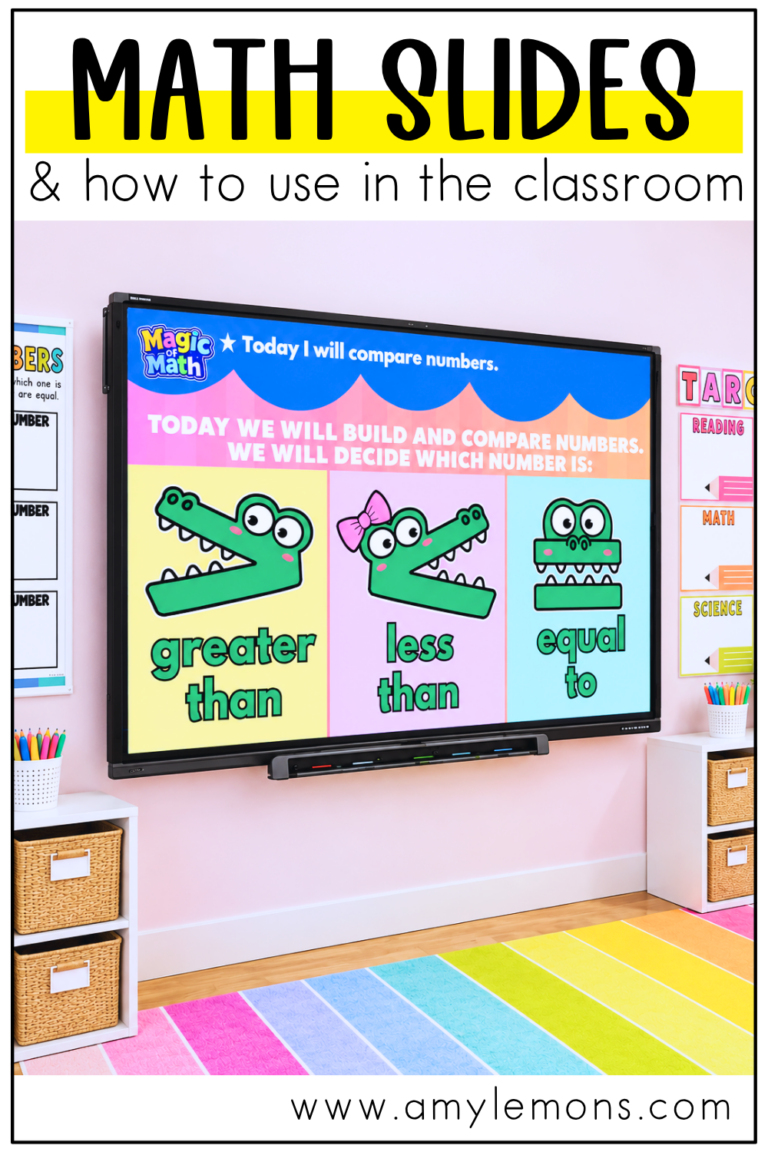
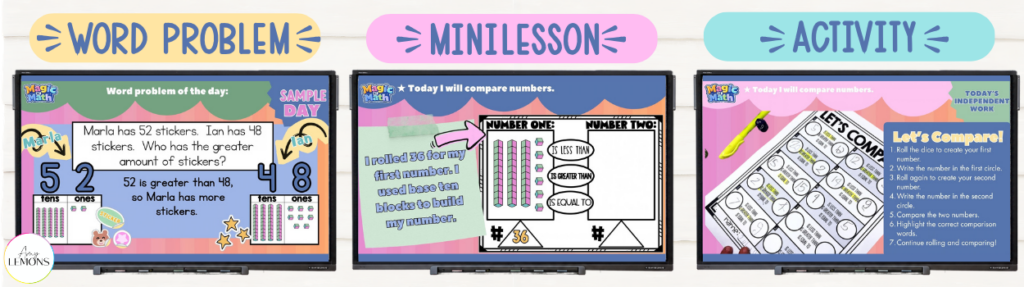
For example, in this 1st grade comparing numbers lesson, students roll two-digit numbers and build them with base-ten blocks. The slides walk through that process one step at a time, giving the teacher a visual to use while modeling and discussing the math. Students see the number, watch it get built with base-ten blocks, talk about what they notice, and then build and compare numbers themselves.
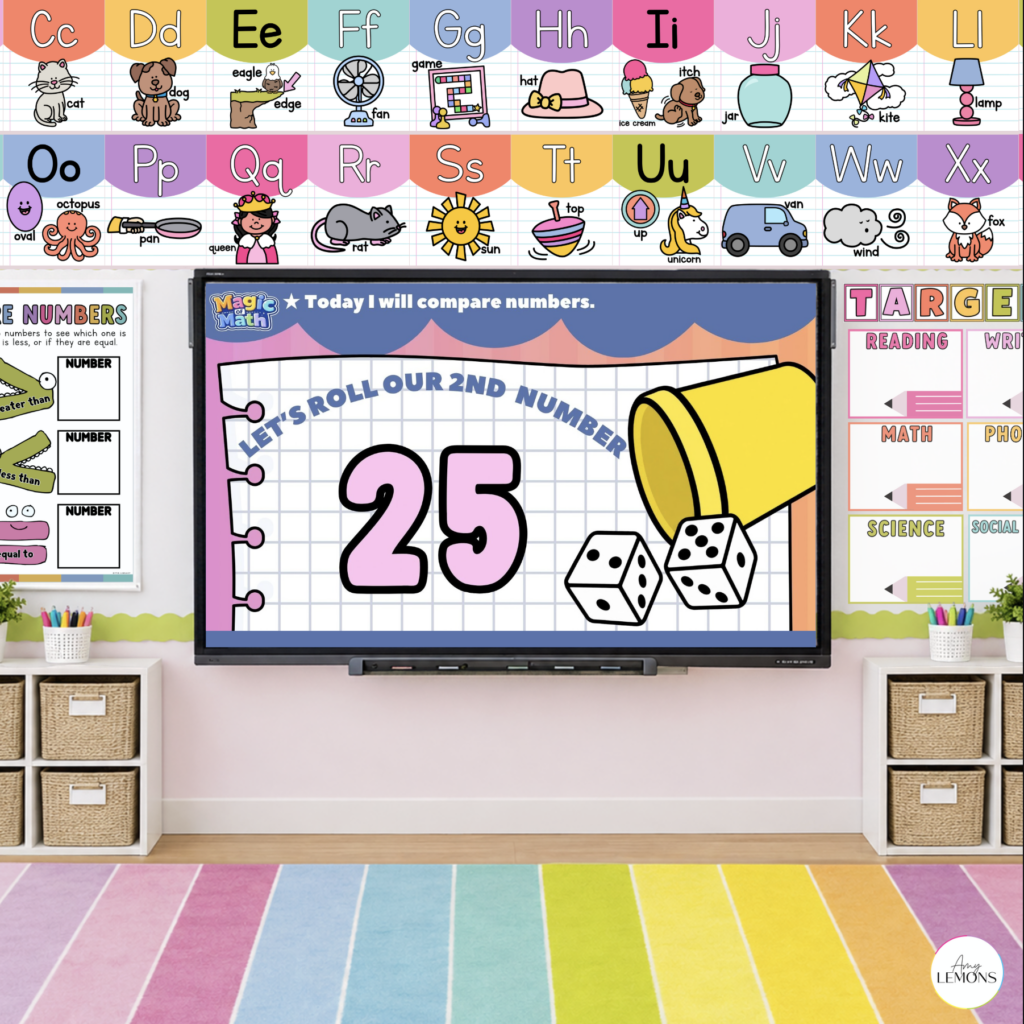
This is especially helpful with younger mathematicians because they aren’t relying only on verbal directions. The visual stays right in front of them while the teacher explains, models, asks questions, and guides the discussion.
Make Math Thinking Visible With Visual Models
There are so many times during a math lesson when we know exactly what we want students to notice, but communicating every step clearly while also managing the classroom can be a lot. Instructional math slides give you a way to slow down the process and make that mathematical thinking visible.
In the comparing numbers lesson, students aren’t simply told that 36 is greater than 25. They build the numbers, look at the tens, compare the values, and decide which comparison language to use: is greater than, is less than, or is equal to. The visual model supports the teacher’s explanation while students work through the thinking themselves.
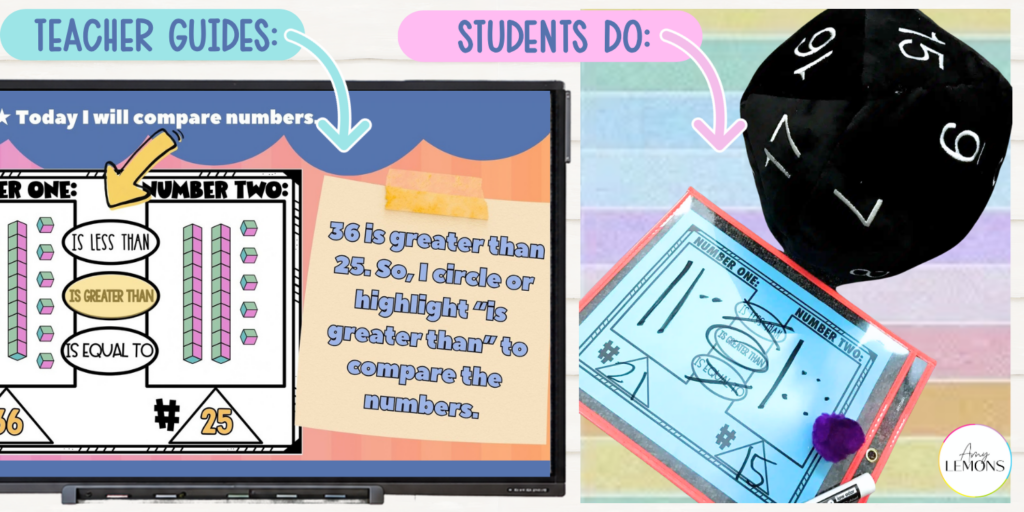
I especially love this part because the teacher’s model and the students’ work mirror one another. The teacher demonstrates the process on the board while students use their own materials to build, compare, discuss, and record their thinking. The screen isn’t doing the learning for them. It’s giving everyone a shared visual while the learning is happening.
Make Hands-On Math Easier to Manage
Hands-on math is incredibly valuable, but it can also come with a lot of moving pieces. Students need to know what materials to use, what to do first, where to record their thinking, what happens next, and what to do when they’re finished. Having those directions on the screen takes some of that load off the teacher.
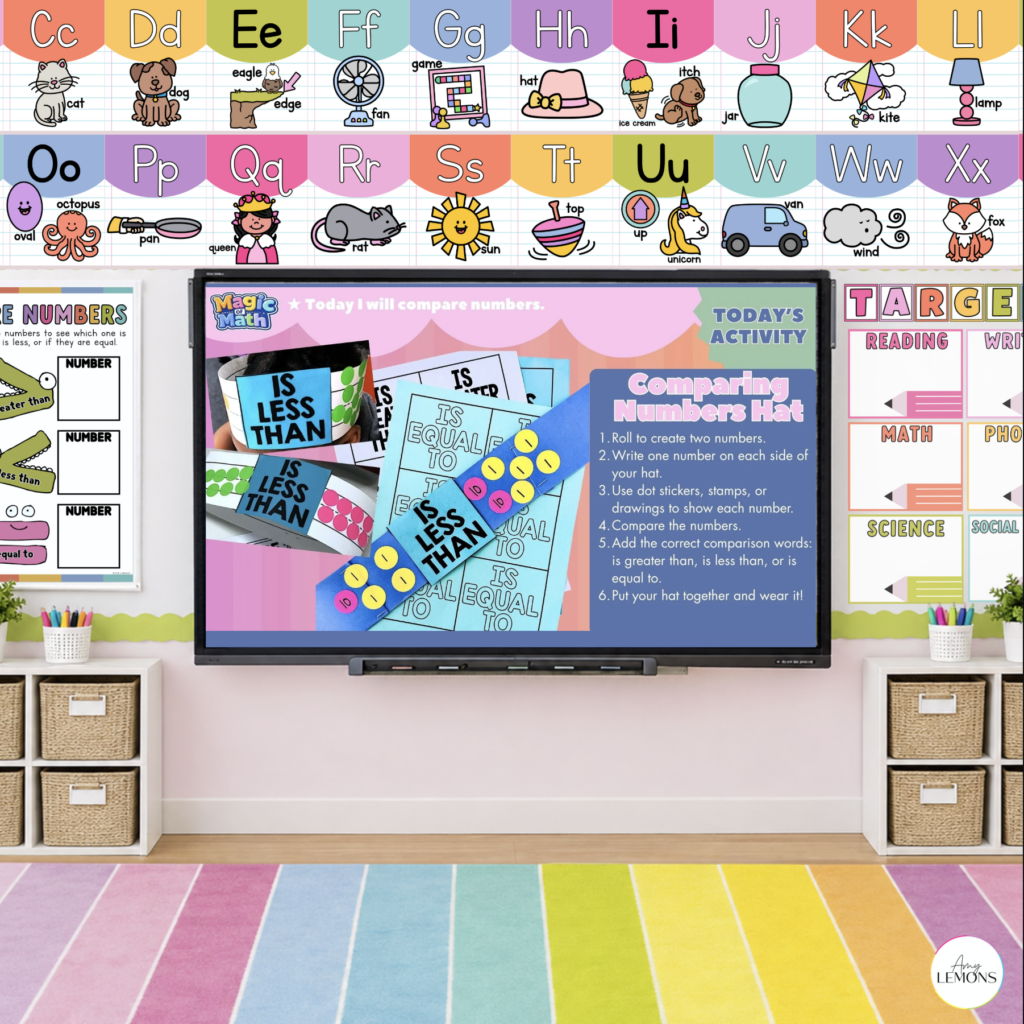
For the Comparing Numbers Hat activity in our sample lesson, students see the activity and the steps right on the board. The teacher can introduce the activity, explain the expectations, and then leave the slide displayed as students begin working. Instead of repeating the same directions over and over, students have something they can look back at when they need a reminder.
This doesn’t mean first graders suddenly won’t ask you what they’re supposed to do five seconds after you explained it. 😉 But giving them a visual reference is one more way we can help them become more independent during the math block.
Move Students From Instruction to Independent Practice
The slides also help create a natural progression from teacher modeling to student practice. Once you’ve introduced the skill and worked through examples together, students need opportunities to actually use what they’ve learned.
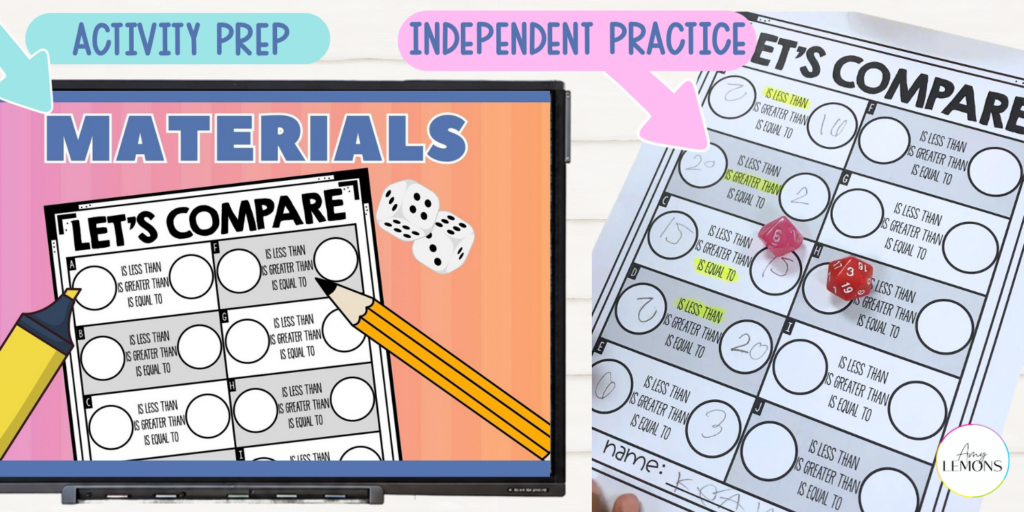
That gradual release is built right into the slides. Students start by watching a model, then work with manipulatives or complete a hands-on activity, and eventually apply the skill during independent practice. Directions stay on the screen so students know what they should be doing without the teacher having to completely reset the lesson every time the class moves into a new part of the math block.
The technology isn’t the lesson. It’s helping all of the pieces of the lesson work together.
A Math Lesson That Flows From Beginning to End
Ultimately, that’s what we want these slides to do. We want them to help your math block feel a little more organized and a lot easier to manage.
You can begin with a word problem, move into the mini lesson, model the skill together, transition into hands-on practice, display activity directions, and then move students into independent work. The teacher is still teaching. Students are still talking, building, solving, writing, and working with math materials. The slides simply help connect all of those pieces.
Try a Free Magic of Math Sample Day for 1st Grade
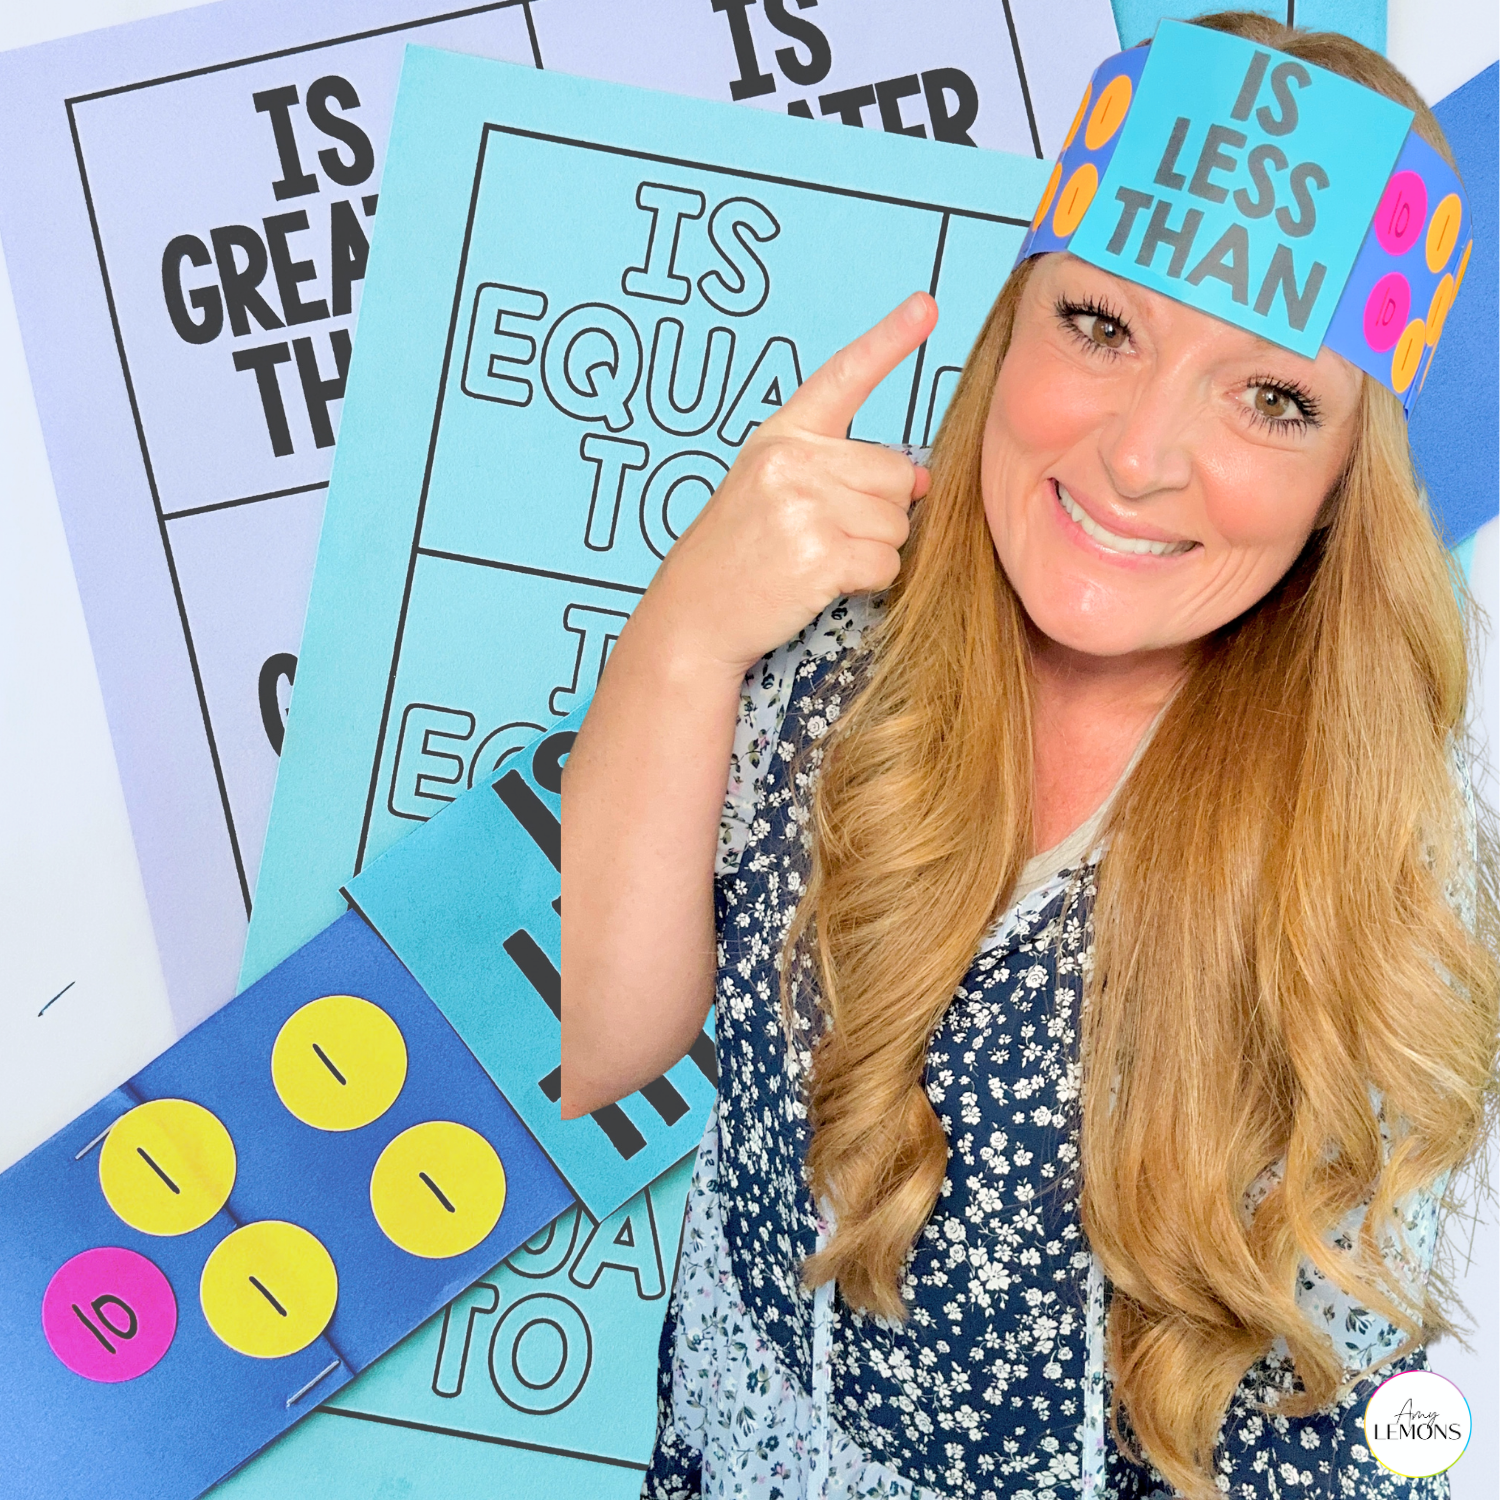
If you’d like to see what this looks like during an actual math lesson, we created a FREE 1st Grade Magic of Math Comparing Numbers Sample Day that you can try with your students.
Pair it with the free companion instructional slides to see how the slides work alongside the math lesson as students compare two-digit numbers using visual models, comparative language, hands-on practice, and independent work. It’s not just a few preview slides. You can actually use the sample to experience how the pieces work together during instruction.
If you already use Magic of Math, we hope these slides make the curriculum you love even easier to teach. You’ll find more math instructional slides for your classroom in the GYTO shop. And if Magic of Math is new to you, the free sample is a great way to see what it’s all about.