

Hey, y’all! My name is Amy Lemons and I am passionate about providing students with both engaging and effective standards-based Math and ELA lessons.

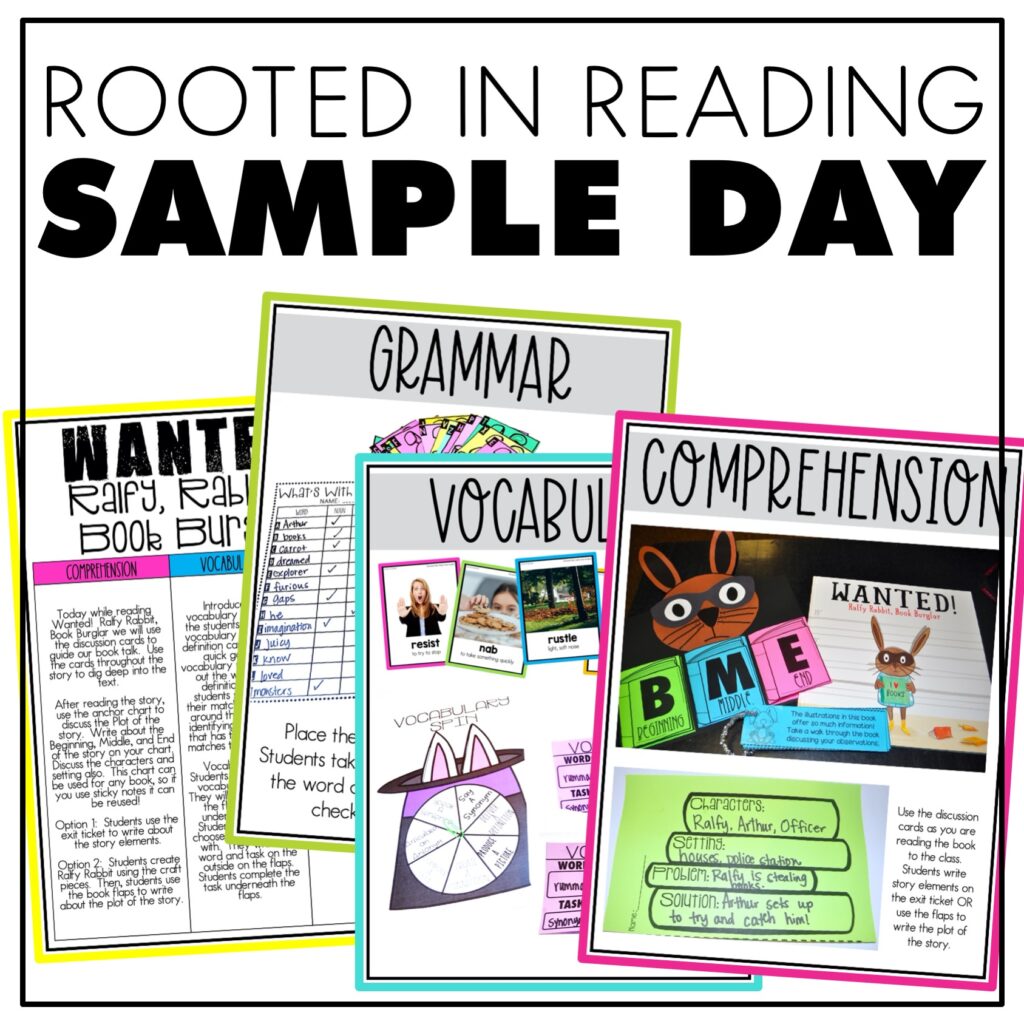
Sample a day of Rooted in Reading with these lesson plans and activities for Reading Comprehension, Vocabulary, and Grammar!
30 Responses
Amy, thank you! Sending hugs!! Julie @salvagedsooul
Great idea!! I just started my teaching blog. I need some help getting some followers. I blog about teaching second grade, Young Living essential oils and crafting. My blog is http://theoilyteacher.weebly.com/crafting-teaching-and-oiling/
Would greatly appreciate your help!! Love, love, love all of your ideas and have purchased many of your items on TPT! Blessings, Kim Jones
Thank you so much for this tutorial, great tips! You just saved me tons of time. Love your blog and ideas. Stacey
This is brilliant. I am so doing this with my Kinders on the first day! We have backpack hooks instead of cubbies that I like to have labeled.
Awesome! I'm definitely going to try this idea soon! Thank you!
Hi Amy, where did you download the cursive from?
I absolutely love this! I went in and created my slides ahead of time (with my own name). I only have to change the slides when I receive my student roster. Thank you! 🙂
Thank you so much!! You are my inspiration. I am so happy I moved back to Texas and have the ability to use all of your products. Thanks for the tips.
Amy, thank you so very much. Wonderful tutorial!!!
Thanks for the great tip!
Thank you so much for the great video! I would also like to know where the cursive font is from.
Thanks!
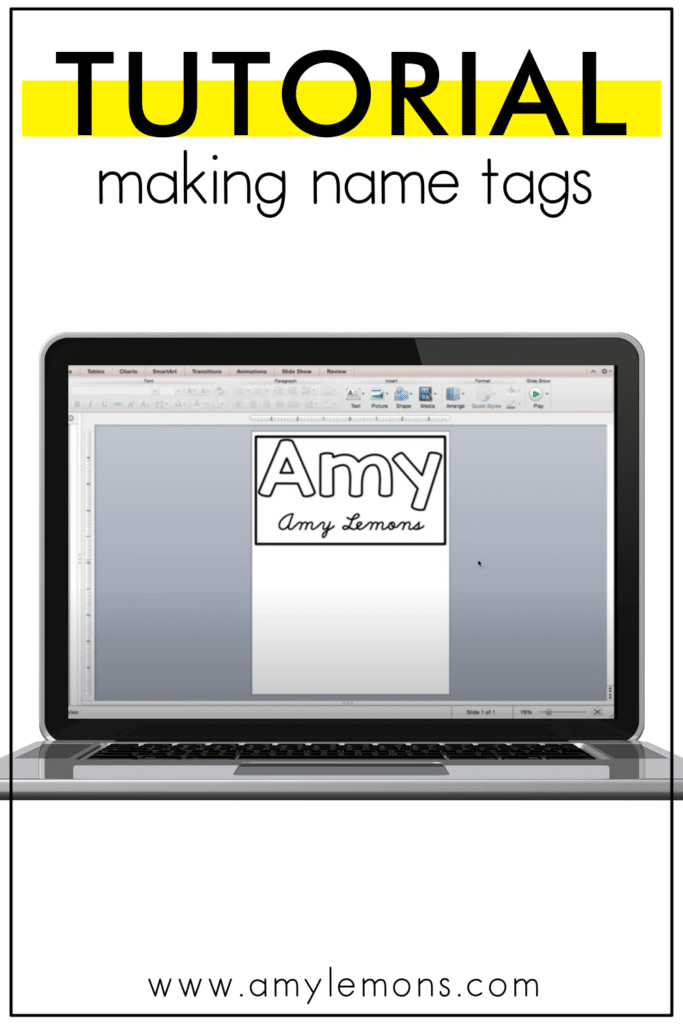
Thank you so much for doing this tutorial. I always use Powerpoint, but I didn't know about the square warping. I've always wanted to make these name tags for my kiddos & now I know how. Thanks so much again for showing us.
Stephanie
Polka Dot Palace
Holy buckets! Your tutorial was AWESOME! I am so grateful that you posted this so now I have some more fun activities for my kids to do on the first day. I'm going to use these on the word wall! Woo Hoo! Thanks SO MUCH!
Oh my goodness! I love this! Thank you so so much for this tutorial! I'm pretty competent on PP, but this blew me away! Yay!
Jamie
Very helpful! Thanks so much!
Great tutorial. Keep them coming. Love your work and products.
Hi Amy,
I love this tutorial and am trying to create my own in PowerPoint. Do you know where I would find the warp option for Windows? I don't have a Mac, and am struggling to find it. OR does anyone else know?
Thanks,
Amanda 🙂
I am loving this for my first graders this year! Trying to get ahead start now, while baby is sleeping 🙂 Multi-tasking momma at its finest! I can not find a cursive download to save my life…where did you download yours from?
Thank you!
You're so smart! Thank you for the tips!!
Jennifer
First Grade Blue Skies
I tried to do this because I loved your idea, and the tutorial was amazing!! But, I couldn't get the names to fit on one line like they were supposed to. I have windows, so I didn't know if there was something different I needed to do to make it work! Any suggestions?
OMG, I am loving your video tutorials! I made some previews with Picasa yesterday thanks to you, and just now made nametags for my family (ha – no class list yet!) with your instructions. Thank you!
I have a PC and I found the warp option in the same place: with the “Drawing Tools: Format” tab open (make sure you're in the text box to get that tab at the top), it's Text Effects > Transform > Warp. And wow – what a lot of warp options there are! Fun!
Thank you, Amy!
🙂 Amanda
Thank you so much! I love that bloggers are beginning to do video tutorials! I make things in ppt but you have shown me some things that are new!
Thank you SO much for taking the time to post this video. I consider myself pretty savvy with PowerPoint, but did NOT know about the warp effect! I absolutely love that tip and will find so many uses for it now, I'm sure! 🙂 Like others have mentioned above, where did you find that adorable cursive font? I've searched and searched and can come up with nothing. I have other cursive fonts I've used in the past, but I love this one. Please share when you have time. 😉 Thanks!
I love this tutorial! Thank you! I have been searching for a cursive font. Where did you find that one? 🙂
You amaze me! I am so thankful you share like you do because I am always pleased with your work! I have my nametags made but just not happy with my font that supposed to be cursive. I too am interested in the font you used.
AMY! Love this, obvi you're amazing but Word Art WARP?! Where have I been? Thanks for the tip!
Thanks so much! That brief tutorial was so helpful! 🙂
Thank you for your tutorial! It was simple and easy to understand. Now I have saved a copy as a template for future classes! 😀
I am not able to get the link to work anymore. Is it still there?