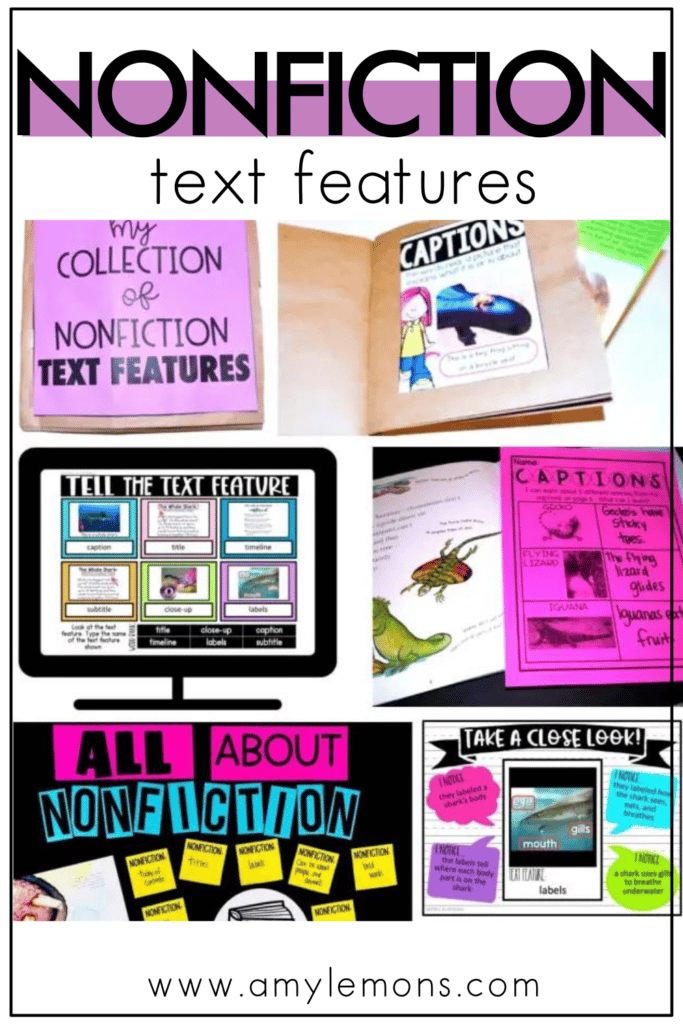
I don’t know about you, but whenever it comes to teaching Nonfiction Text Features it seems like my teacher’s toolkit is low on ideas, resources, and activities. It’s one of those standards that I’ve always had difficulty finding materials for. Well, now that I’ve been collecting ideas for Nonfiction Text Features for several years, I thought it would be beneficial to share them with you! Today I’m going to share 5 activities or teaching tips that will help you up your Nonfiction Text Feature game.
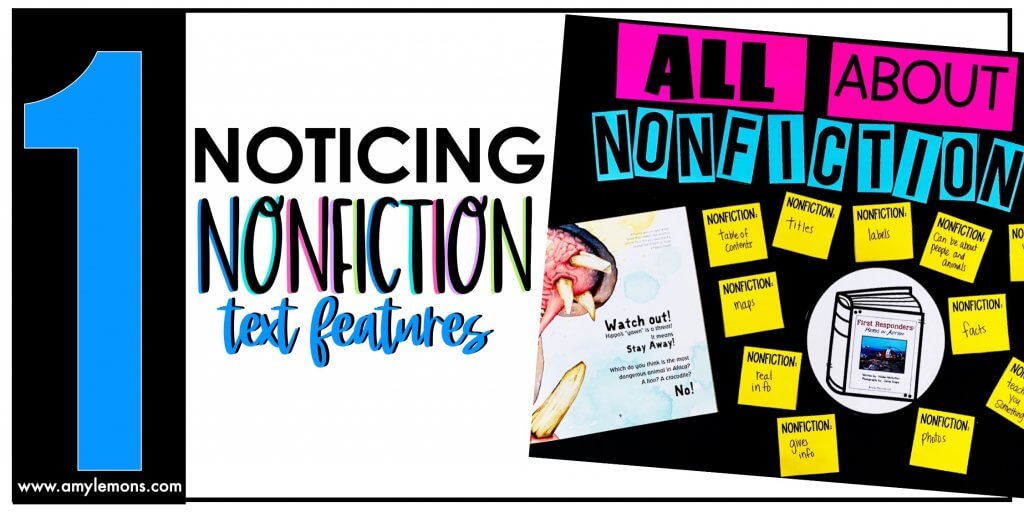
First up, how do we get started? It’s really all about exposure. Students need to see actual text features in books. When I first start teaching about text features I like to do a picture walk using the document camera and projector. This allows the fine details to be large enough where students can notice everything included on the page. As we are looking through part of the book (it isn’t necessary to read every single thing included in one day), I am sharing the names of the text features. You can add all of the text features that the students notice to an anchor chart as shown in the picture above. I love the following types of nonfiction books for this:
Read and Wonder Books: These books are all different, but most use illustrations rather than photographs. Every single book doesn’t have every single text feature, but they are good for a focus on one or two text features
National Geographic Kids: These informational books are normally full of nonfiction text features. I’ve used these for a number of years and they are always a fan favorite!
Who Would Win: Kids LOVE these books. They contain several different text features
Books By Gail Gibbons: Gail Gibbons uses many text features, but they are accompanied by illustrations. Her books are beautifully done!
{Anchor chart can be found in Kinder Rooted in Reading October}
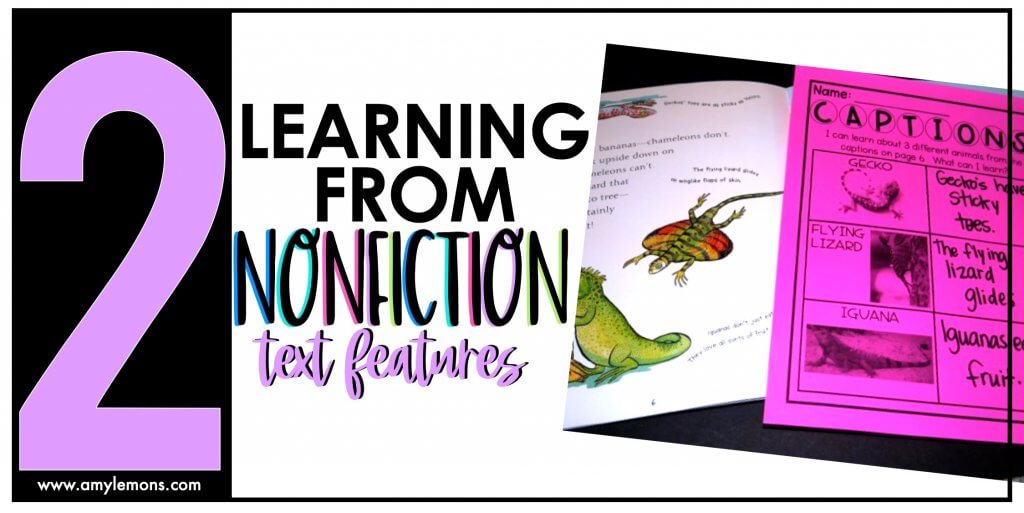
Once students begin noticing nonfiction text features, it is important that they realize that text features are included in books so that we learn additional information about a topic. Often times we identify the text feature, but we leave out the part where we can actually gain new understanding from it. I like to narrow the focus here. You’ll see in the picture above that I gave the students three specific captions to look at. Students find the images and captions. Then students will discuss or write what they learn from those specific captions. This helps to focus their attention on the exact text feature I want them to learn from that day. This can easily be done in a discussion rather than on paper!
{Caption Printable can be found in 1st Grade Rooted in Reading January}
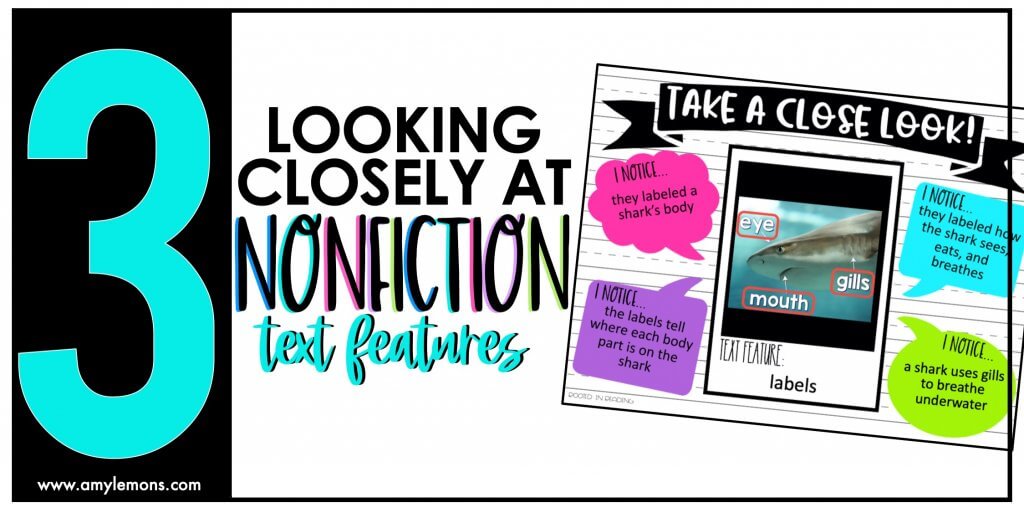
Now that we have discussed text features and began to understand how text features help the reader, we can dive a little deeper. To look closely at a text feature, I draw students’ attention to ONE specific feature. Here we discuss exactly what the students notice from that one feature. We expand on our thinking through having a discussion about the different things we can notice and learn from just looking closely at one part of the page. Here are some questions that I ask during this mini-lesson:
{Digital Activity can be found in Nonfiction Text Features Toolkit}
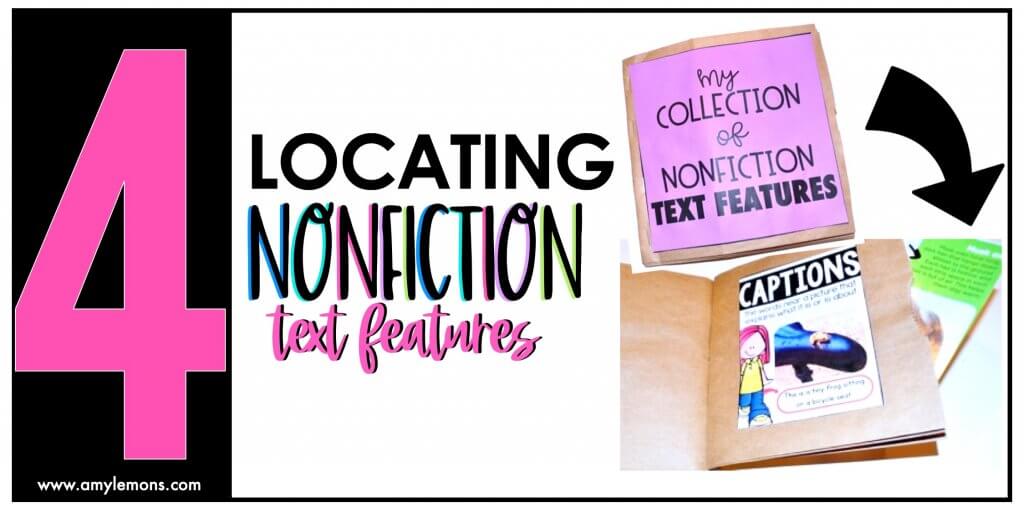
Now that students understand the importance of text features, I like to provide time for students to explore for themselves. If your school receives any magazine or educational subscriptions, this is a great time to pull those out. Email around and ask if anyone has extra magazines such as ZooBook, Time for Kids, National Geographic for Kids, The Week, Highlights, etc. You’ll be surprised how many you can gather!
Students can make a booklet out of brown paper bags to keep a collection of nonfiction text features. Here’s how to make the booklets:
Once students have a collection of text features, provide time for students to share with one another or the class. This part is really important because we want students to not only find the features but also be able to name and explain them. You might even consider passing out index cards or sticky notes. Students can write what they learned from the text feature and include that in the pocket.
{Booklet can be found in 3rd Grade Rooted in Reading January}
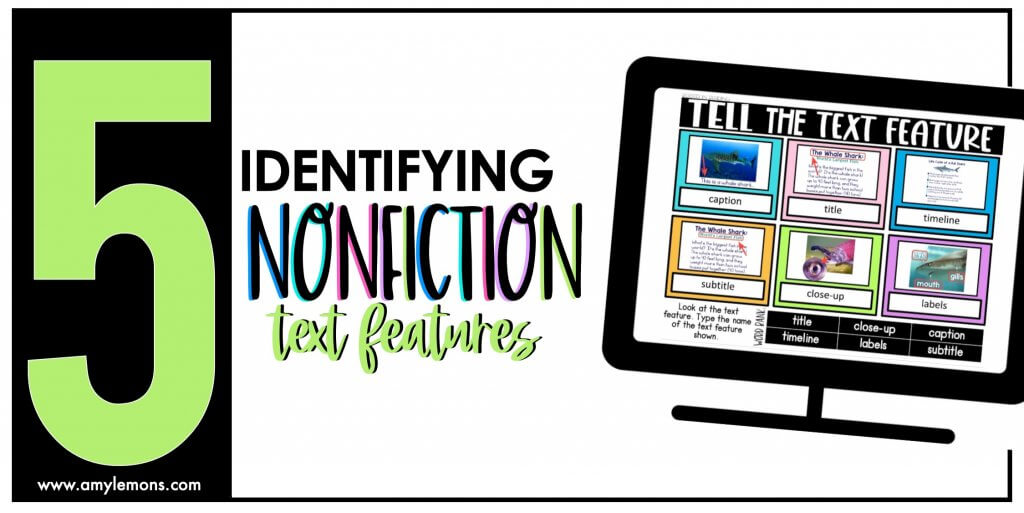
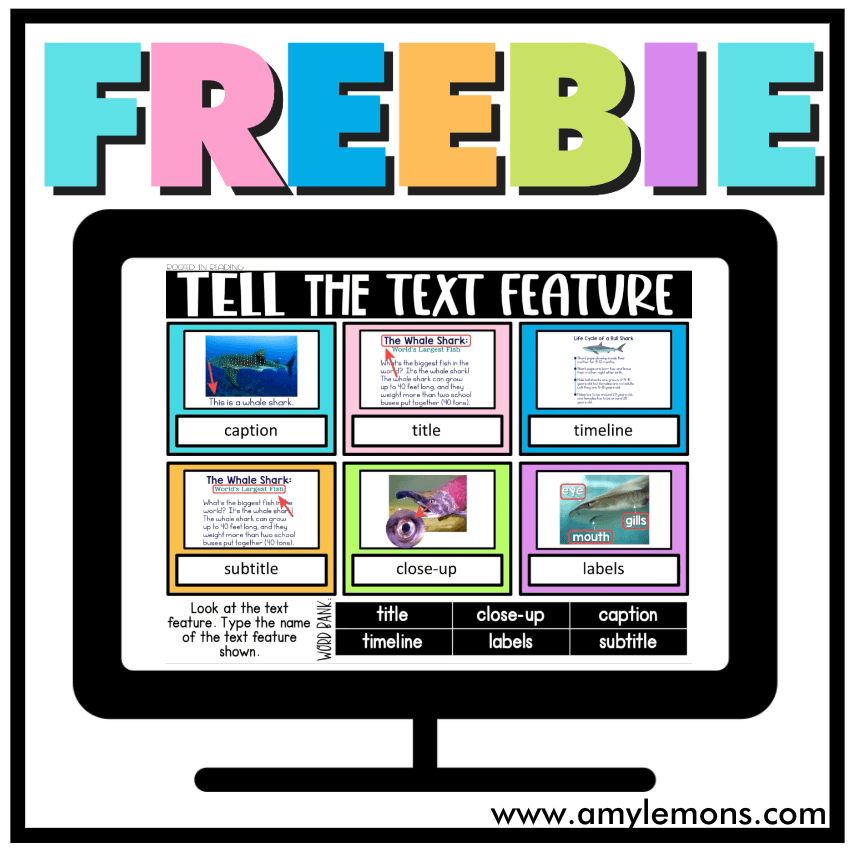
So far we have noticed, learned from, looked closely at, and located nonfiction text features. Phew! That’s a lot! It is also important that students be able to simply name each feature. Identifying text features is crucial so that students can ask and answer questions about specific text features. If you ask a student, “What did you learn from the caption on page 16?” They would have to know what a caption actually is. In this (FREE) activity, students look at the nonfiction text features and label each one.
You can grab this FREE activity by clicking HERE! Best part? It’s printable and digital!


Hey, y’all! My name is Amy Lemons and I am passionate about providing students with both engaging and effective standards-based Math and ELA lessons.
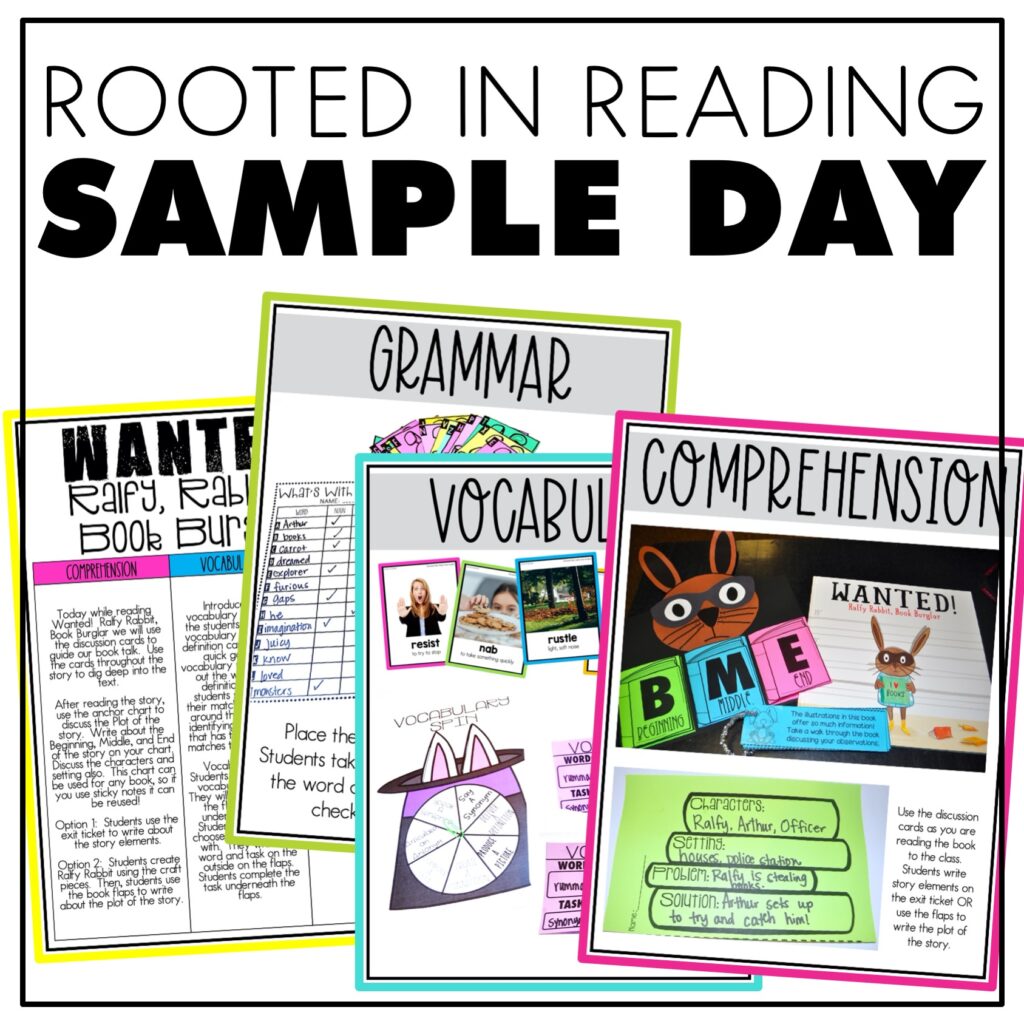
Sample a day of Rooted in Reading with these lesson plans and activities for Reading Comprehension, Vocabulary, and Grammar!
