Looking for a simple ornament that your kids can do basically on their own with only a little guidance from you? Often times I pick out an ornament that needs hot glue or a lot of paint and I end up doing a lot of the leg work. Well, a class of 2nd graders completed these with just my step-by-step instructions! So, maybe this can be one you add to your holiday list 🙂
Here’s the steps that we took! First, you will need:
brown paint, doilies, black markers, googly eyes, red jewels, glue, tape, and ribbon
I bought everything at Michaels 🙂
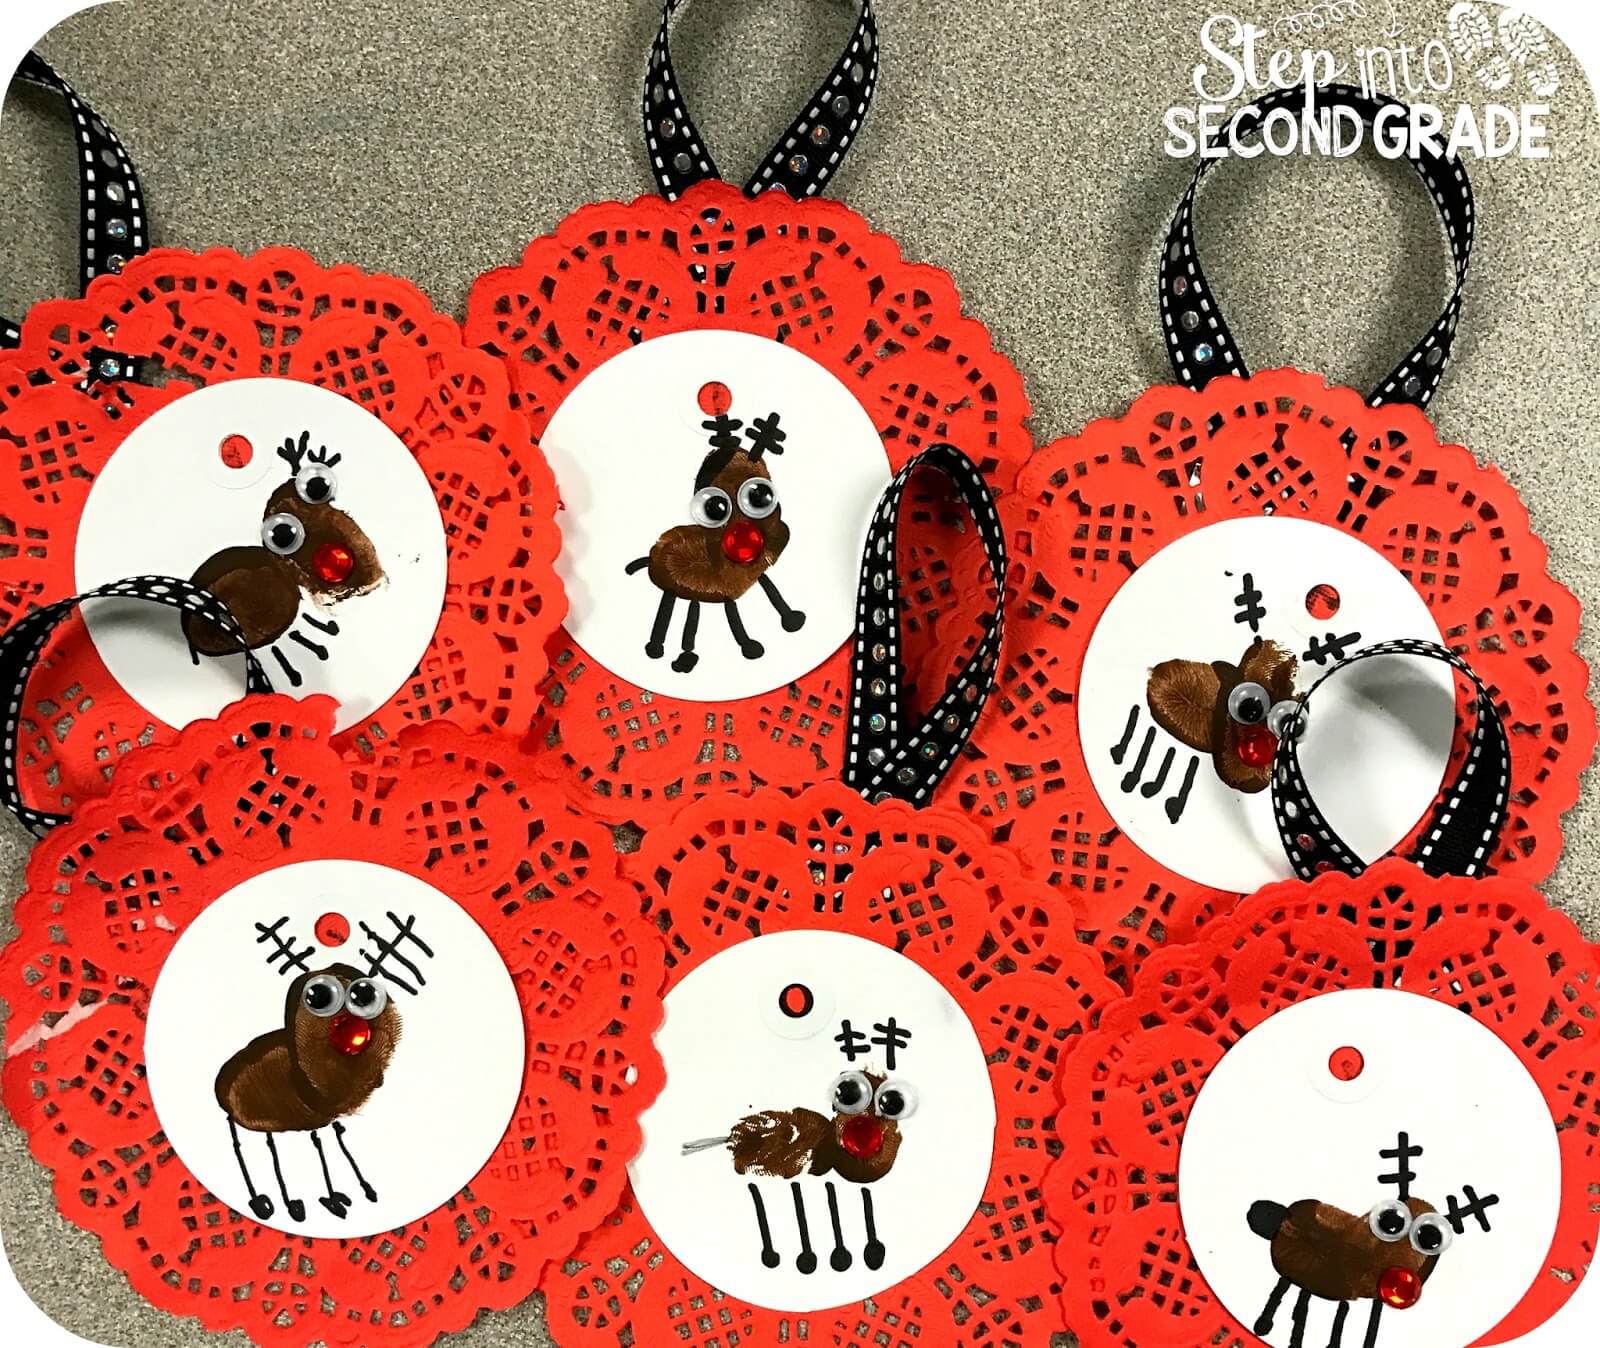
1. Glue a white circle into the center of the doily. I found tags at Michaels for a buck, so I bought those instead of cutting a bunch of circles! They have a hole punched, but that doesn’t bother me 🙂
2. Put brown paint on one thumb (I just went around and painted everyone’s thumb). Make two thumprints… one for the body and one for the head.
3. Using a black marker, draw the legs and antlers.
4. Add the googly eyes and red jewel.
5. Use tape to secure the ribbon to the back of the doily.
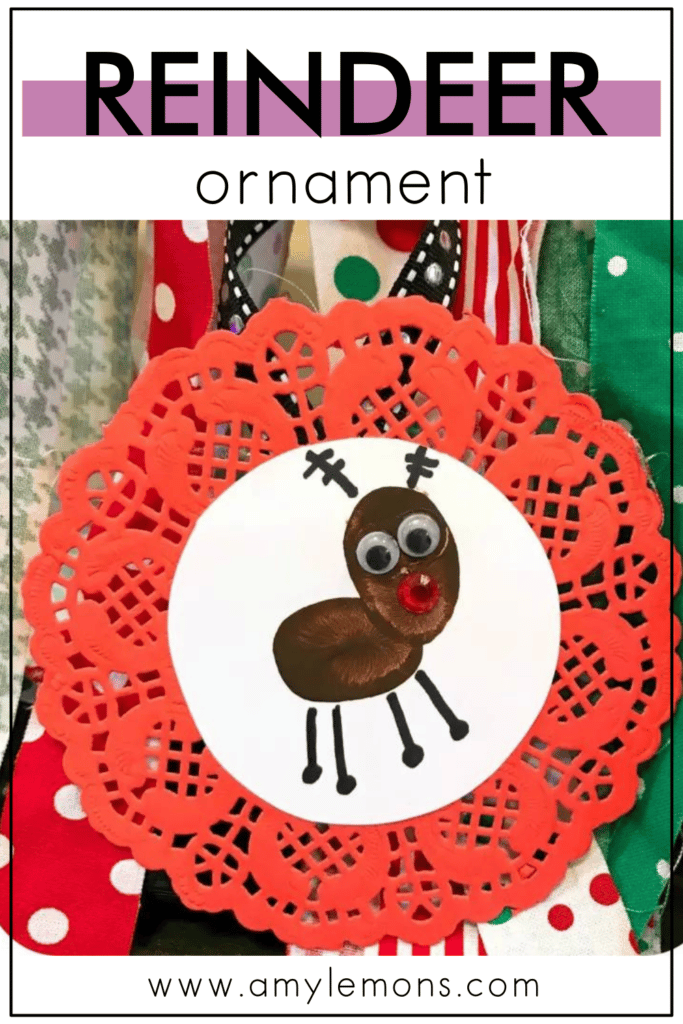
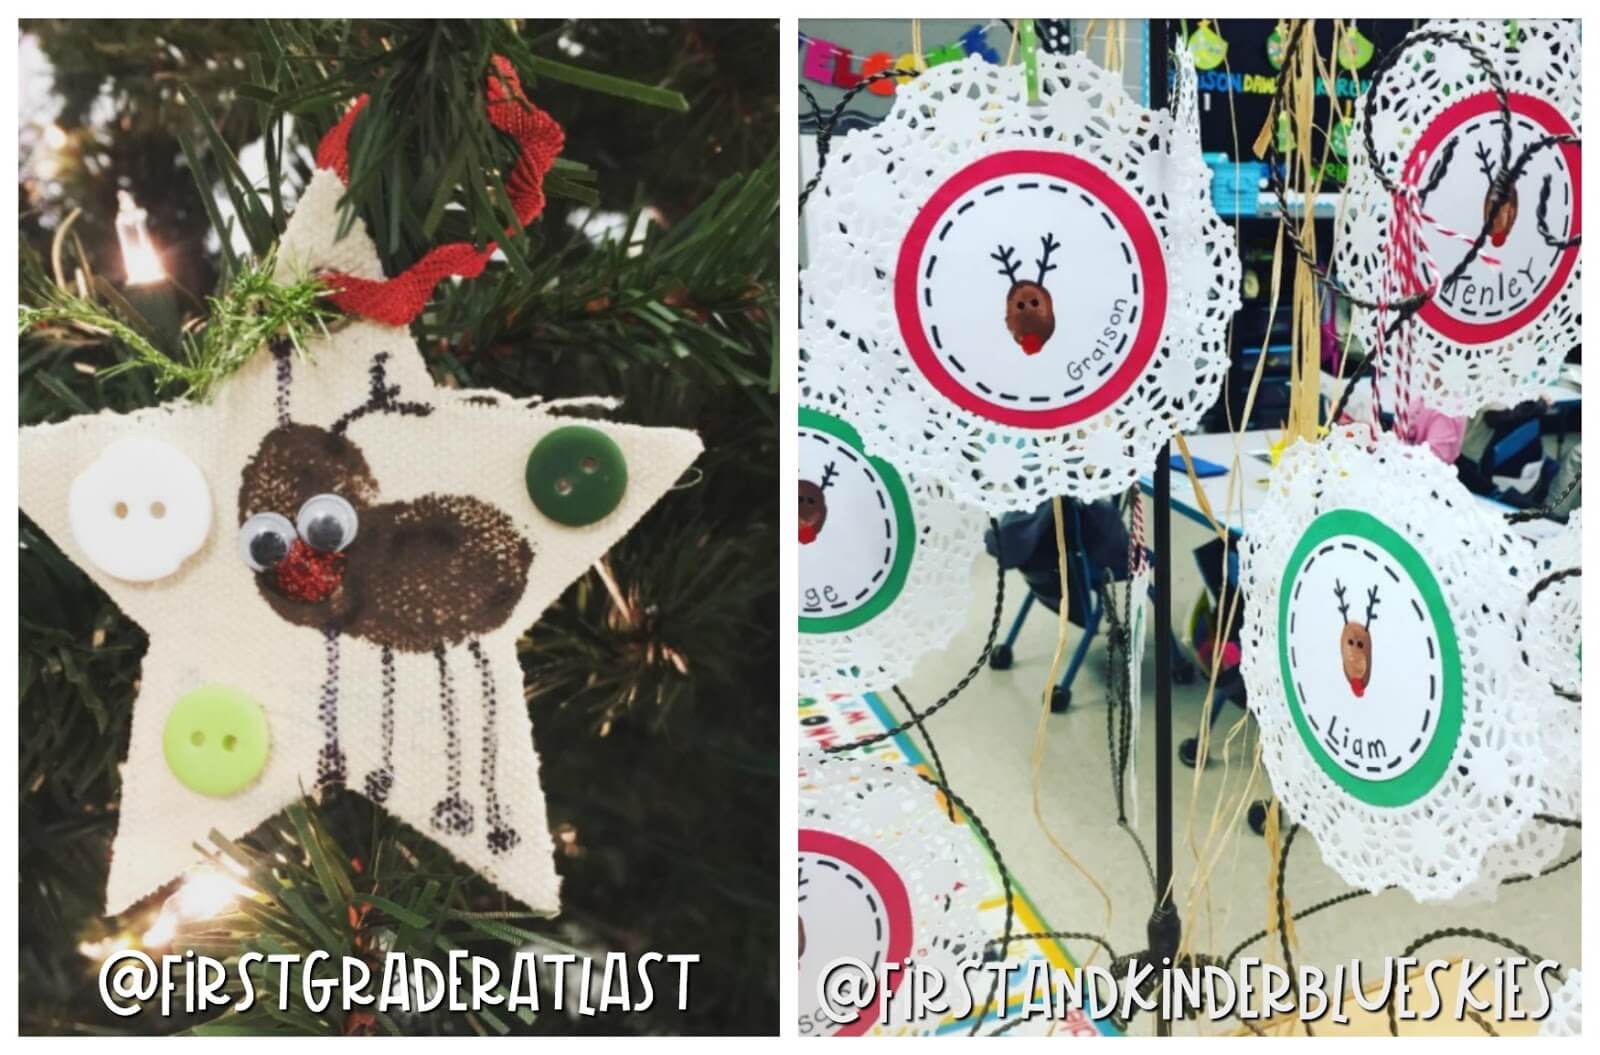
And this is what you end up with! They are all so cute and their parents will treasure those little thumbprints 🙂
The thing I love most is how different they all are even though we worked through the steps together 🙂
Done and Done! Check that one off the list :))
Hi, I'm Amy
Hey, y’all! My name is Amy Lemons and I am passionate about providing students with both engaging and effective standards-based Math and ELA lessons.