Do your students or children make ornaments each year around the holidays? Over the years I have made dozens of different Christmas ornaments with kids in and outside of the classroom. It’s always one of those things that makes me frazzled but also excited… does that make sense?! I guess that’s basically Christmas in a nutshell… overwhelming, messy, chaotic, but magically wonderful and worth it!
This year I wanted my children to make ornaments for their teachers to pair with gift cards that I had purchased. We are trying to get them involved in the act of giving as much as possible, so I thought this was a great chance for that! Plus, they love anything arts and crafts.
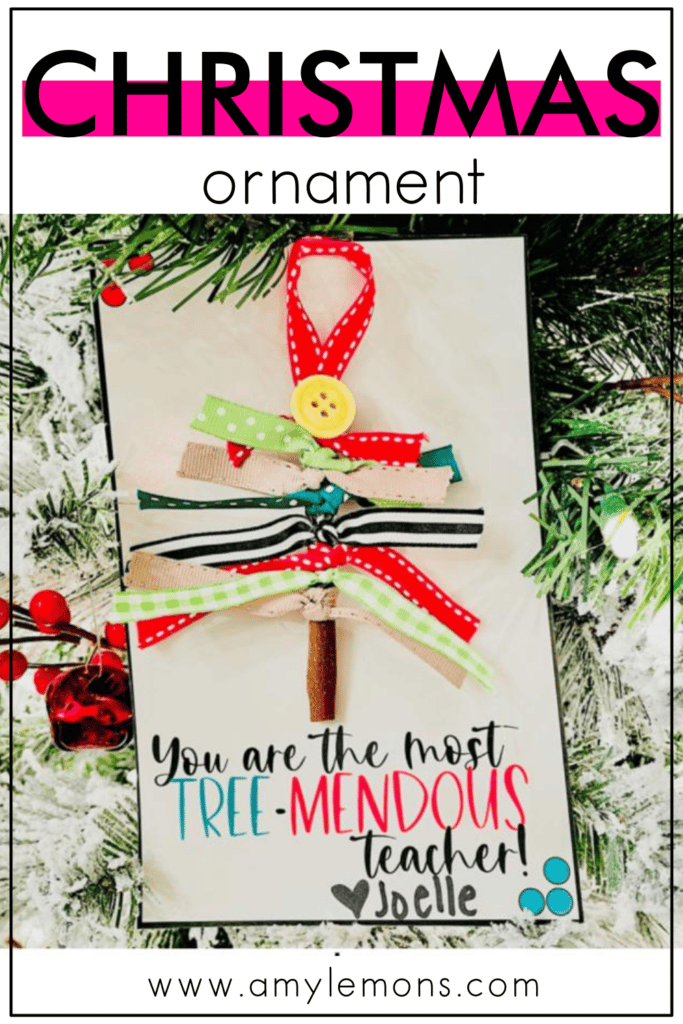
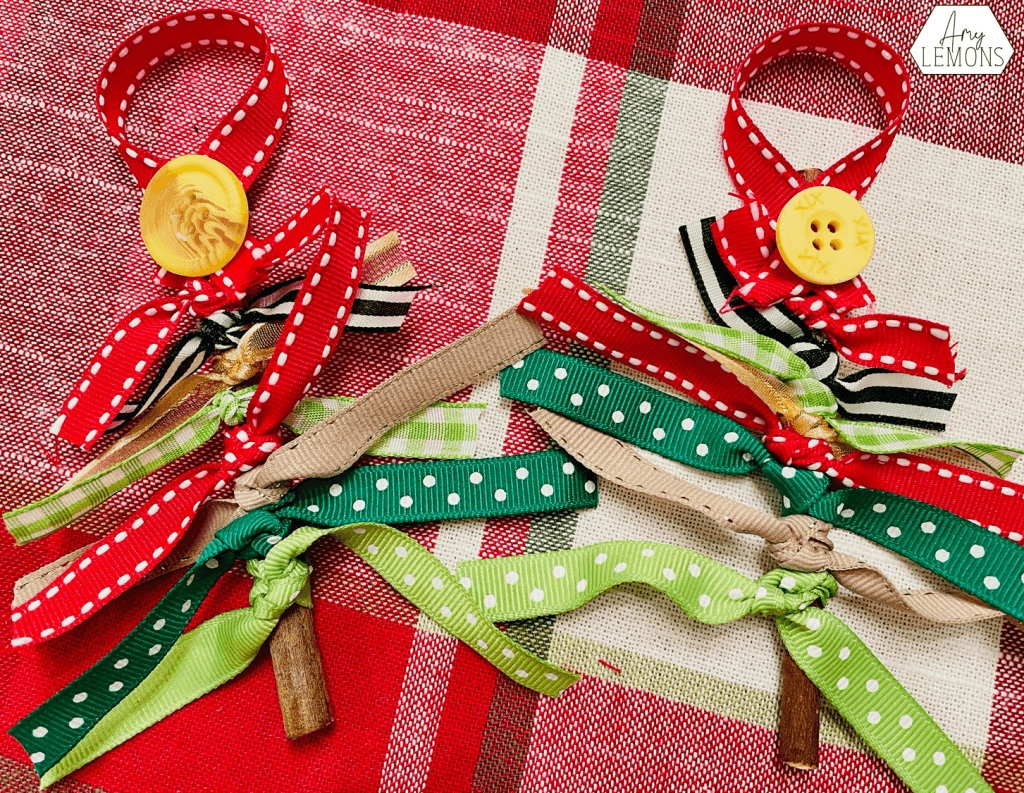
This year we made Ribbon Christmas Trees. Pretty simple, but I would suggest only doing this with children that can tie knots!
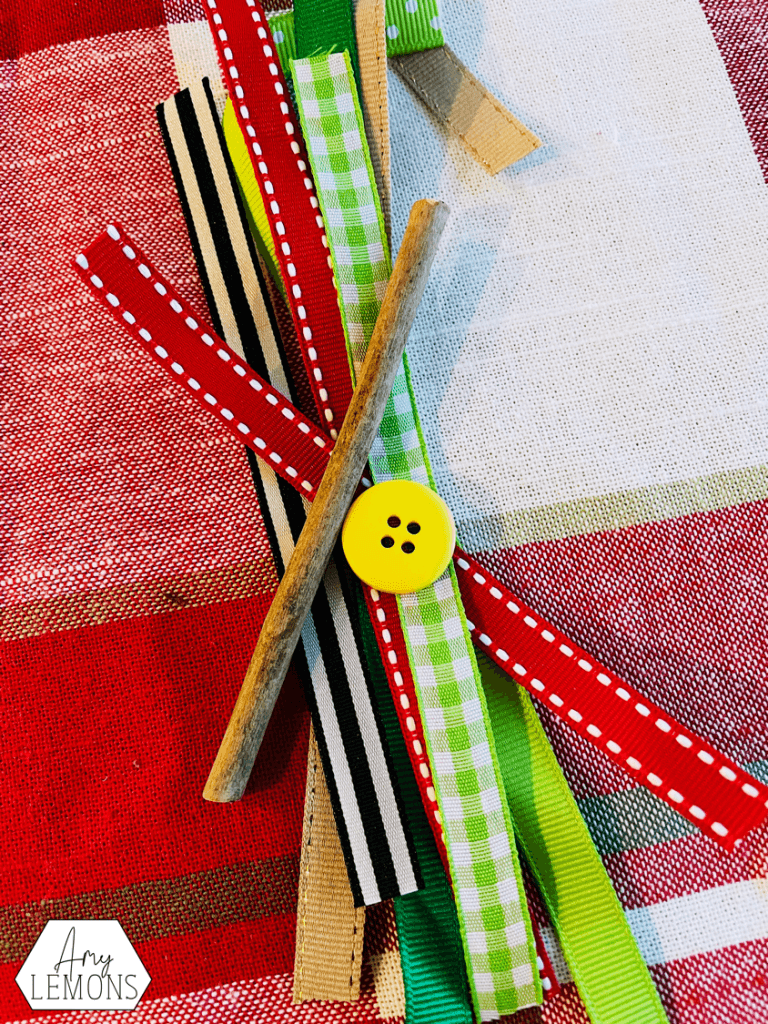
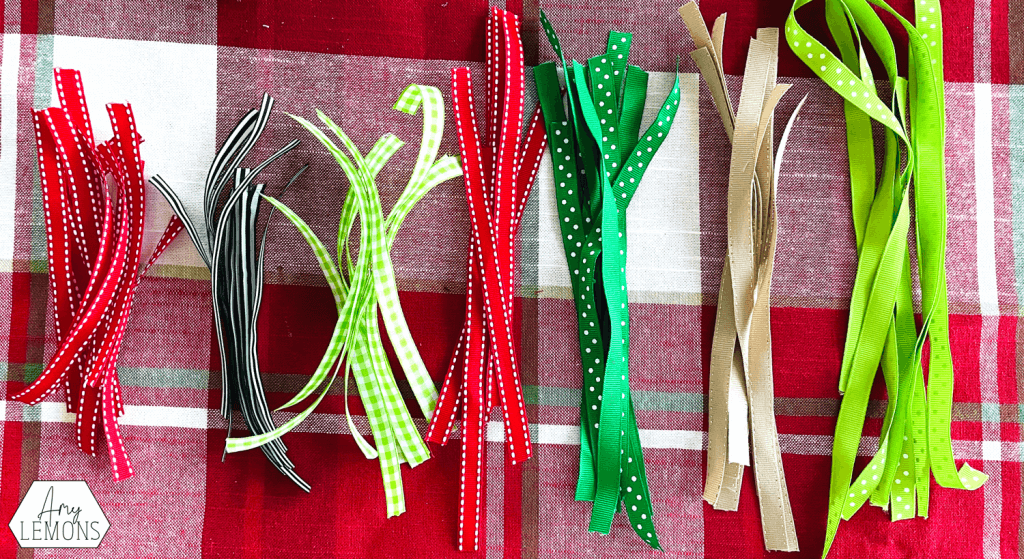
First up, I cut the ribbon because it was the quickest way to get lots of strips! I started at 5 1/2 inches and went up a little in length each time. So I had lengths of 5in, 5 1/2 in, 6 in, 6 1/2 in, 7 in, 7 1/2 in, 8 in, 8 1/2 in. After tying the ribbon we trimmed the edges up because there was some excess.
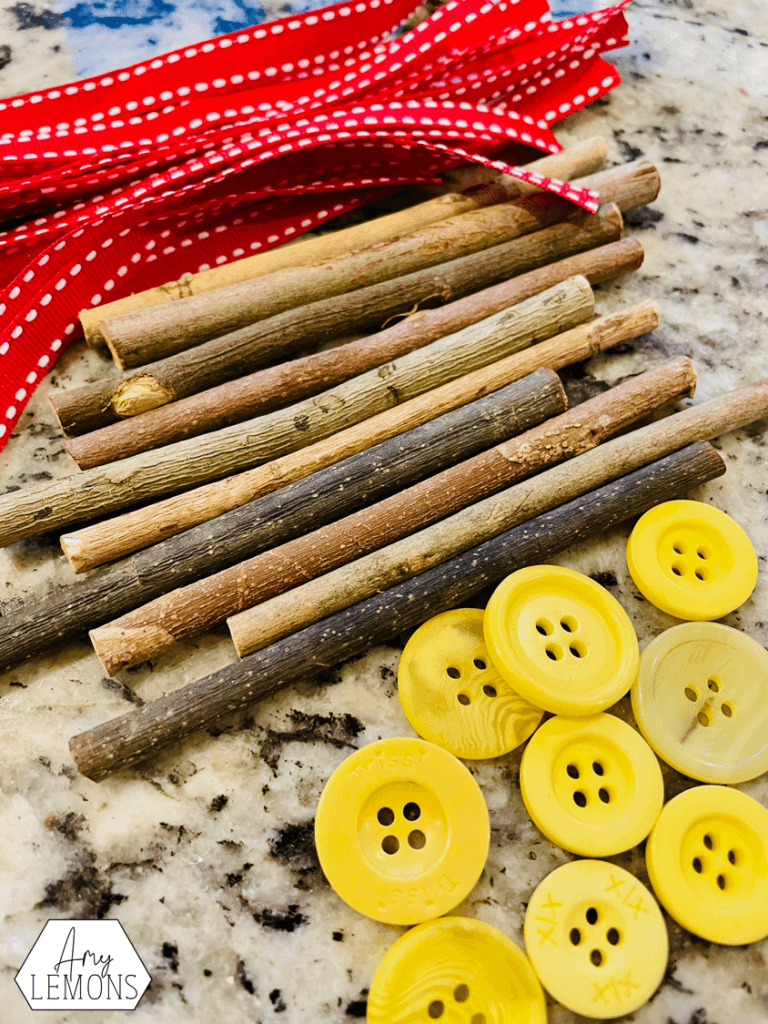
Next, I hot glued a loop and button to the top of the stick. After this the kids completely took over!
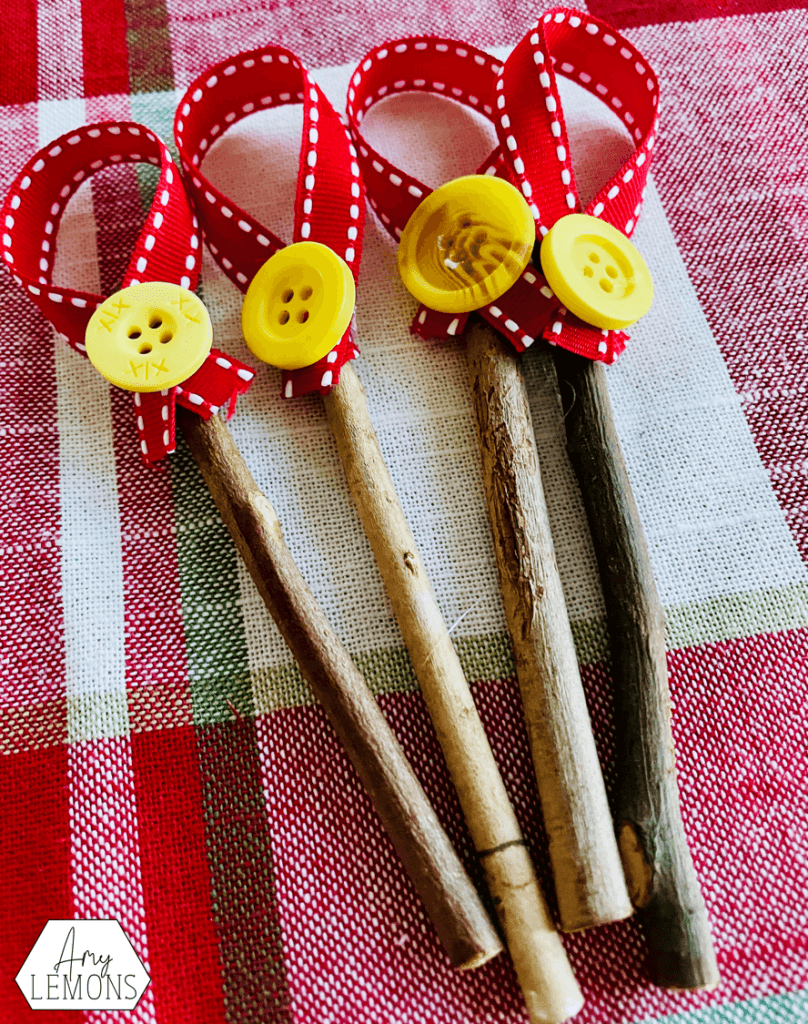
Here you can see how the loop and button are secured and ready to go!
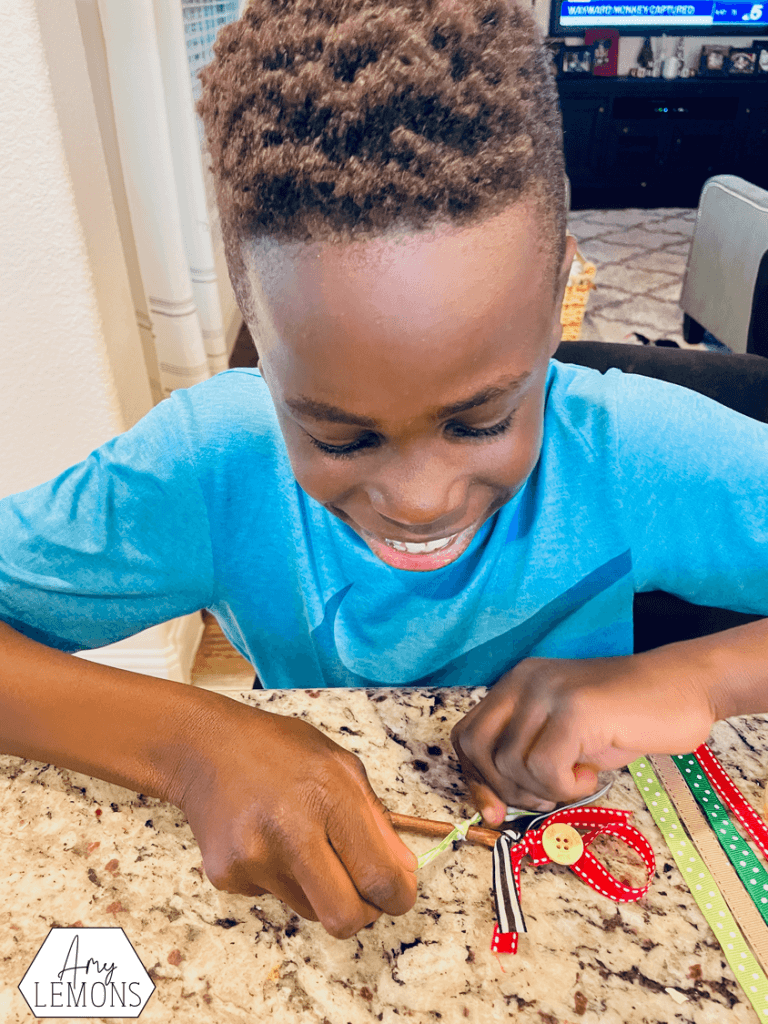
Starting with the shortest ribbon, the kids tied the ribbon around the stick. For Israel, I just had him tie once. The double knots were harder for him. Joelle double knotted all of her ribbon which seemed to help it stay more secure. You can move the ribbon once it is tied on which helps you achieve the best look.
After they tied all of their ribbons to the stick, I did shimmy the ribbon so that the knots were in the center and the ribbon wasn’t too wonky. I also trimmed some of it up to make their sides more evened out.
We came up with a tag with the help of a quick “Christmas pun” google search, ha! You can grab that tag HERE. I included an option that says, “I hope you have a TREE-MENDOUS Christmas” in case you want to make this for someone other than a teacher.

All in all, it was a fun project that didn’t take up too much of our time.
Both of the kids enjoyed making these for their teachers!

Hey, y’all! My name is Amy Lemons and I am passionate about providing students with both engaging and effective standards-based Math and ELA lessons.
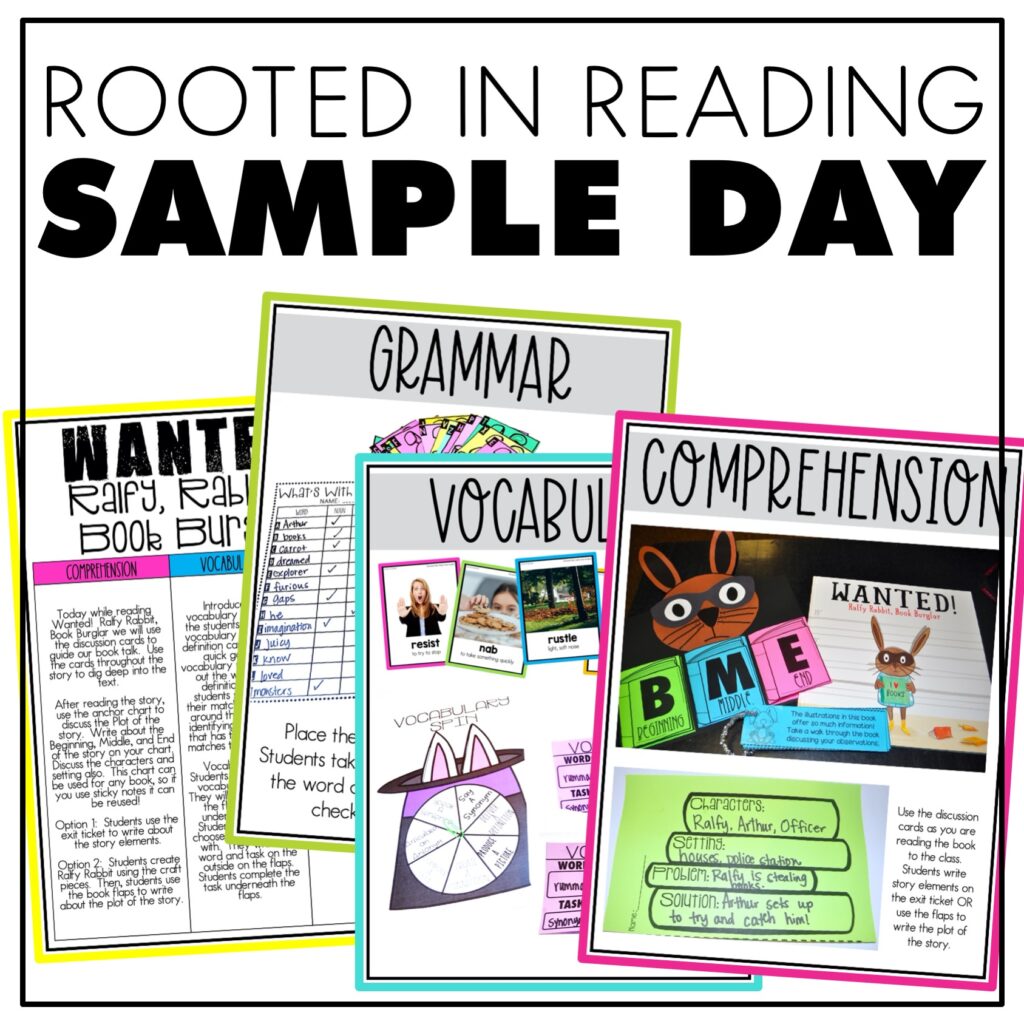
Sample a day of Rooted in Reading with these lesson plans and activities for Reading Comprehension, Vocabulary, and Grammar!