
Lights, camera, action! Okay, sorry. I couldn’t help myself! Because we are going to be making a production in this post. Why? Well, I’ll be sharing how to teach students to write autobiographies with the coolest cinematic theme!
This is not just about how fun and engaging this theme will be for your students, I’ll be providing insight on how to get your students excited about writing autobiographies – making the process easier.
Between February and March, students are naturally indulging in more and more biographical information as we go deeper into Black History and Women’s History. In the classroom, you may be prepping your lessons and wondering how to teach students to write autobiographies.
As you know, biography writing is not the most exciting thing in the world (and if you ask your students, writing, in general, is less than amusing!) So, in case you are new here, I am always pulling out creative new ways to teach old or ‘boring’ skills and I have an exciting one to share with you today!
Your students will be starring in their own “show” as they detail the events of the very few years they’ve been on Earth! I love this theme because we get a chance to really show students how they become the star of their writing.
To keep engagement high, students are able to draft their writing using several fun crafts and model their writing with hands-on classroom activities.
Let’s dive in and see what this looks like over a 5 day period using my Write On! Unit for Writing Autobiographies and Biographies!
Begin Day 1 by explaining what autobiographies are and why they are important. Writing autobiographies can be a powerful form of self-expression and this is something your students should know.
Consider displaying autobiography posters that explain the meaning and importance of autobiographies in the classroom throughout the week.
Explain to your students that when we want people to better understand us or we have important things we want to share about our lives, writing an autobiography is a powerful way to do that. You can share famous autobiographies as examples so students can get an idea of what you mean!
Then, the brainstorming session begins!
Tell students that they will be creating an autobiography book and encourage them to begin thinking about topics.
Begin with the “Now Starring” anchor chart. Using the chart, begin to guide a class discussion on topics that can be used to write an autobiography.
In an age-appropriate way, encourage them to think about important events or people in their lives, things they like to do, challenges they have faced, and their goals and aspirations.
As students are considering topics, use the stars to display them on your anchor chart. Once you’ve finished brainstorming topics, begin to model how to fill in these details using your life as an example.
Students will be excited to learn more about their teacher and you can model what strong details look like!
On the 2nd day of our autobiography writing lesson, students will begin to organize and write out the details for each topic.
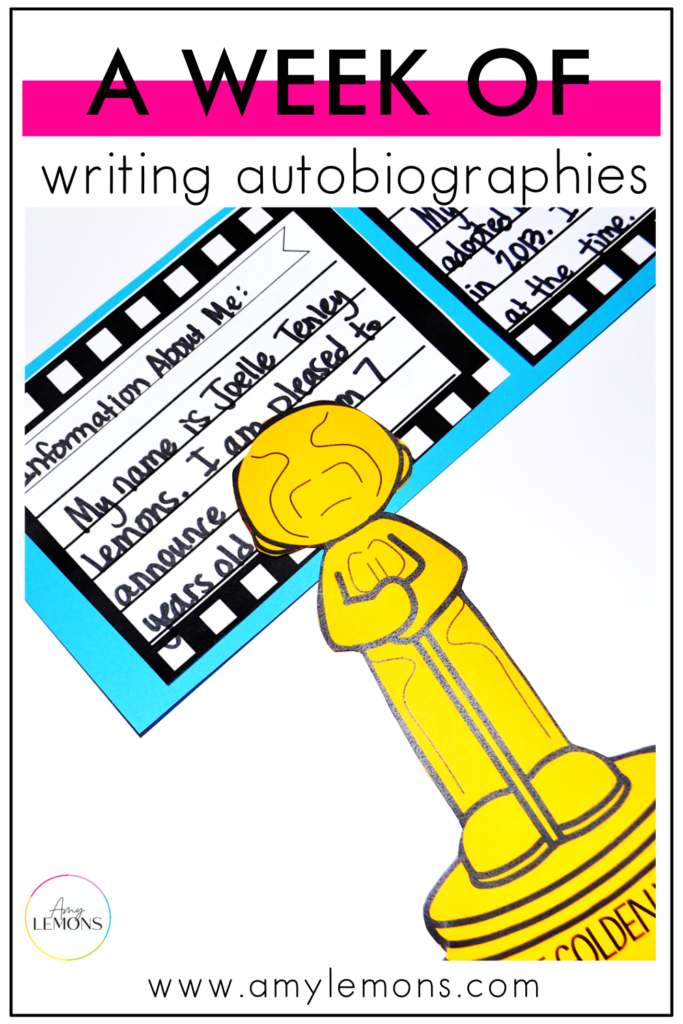
Keeping with the cinema theme, students will use a film strip to organize their lives! Start by modeling using the details from the anchor chart. Each frame represents a new topic.
Working together as a class, have your students think about how to write out the topics based on an order of events.
Here’s an example of an order of events.
Once you have an order, students can use larger film strips to elaborate on each section. Taking each topic from the order of events, begin to expand on the topics using complete sentences and paragraphs.
On the 3rd day of our lesson, we will give students a breather from the writing and a chance to get out of their seats for a more hands-on approach.
During revision day, you will be showing students the importance of maintaining the correct order for their writing. This is always a tricky component for the little ones to grasp so instead of having them organize their writing, engage them in a fun organizing exercise.
Here’s how it works:
For the Putting Events in Logical Order exercise, we use 10 event cards for students to organize using dice or a cup of numbers and their little bodies!
By the end of the ordering lesson, students will have a good understanding of how to maintain the flow and logical order of their writing.
By now, the students have brainstormed, written, and learned how to organize their autobiographies. Now, they must learn to edit them for conciseness, punctuation, and grammar.
Verb usage is huge in their autobiographical writings because it really sets the tone for how they portray their lives.
Be sure to explain to students which tenses they should be using in their writing and how. Using verb posters is a great way to display this as they are working through their autobiographies.
They need to understand how to use past tense when talking about things like their birth or fond memories, present tense for talking about things like their hobbies, and future tense for talking about their goals!
You can use your modeled writing or a student autobiography example to show your students how this looks.
During the editing phase, it’s a great time to get creative with how they go about reviewing their work. Keeping our focus on verb tenses, students will use a “Golden verb” to award correct verbs and fix incorrect verbs!
They can begin by correcting verbs in their sample autobiography. Consider using different color highlighters for students to mark their verbs and check whether the tense is correct or incorrect.
Then in a group, students can trade their autobiographies and edit their partner’s work.
I love partner activities because it really gives students a chance to work together and build off of each other’s strengths. Plus, having a fresh set of eyes when you’re editing is a major bonus and something they can use for their future writing endeavors!
At the end of the week, all of the student’s hard work gets to shine and they can finally “release” their autobiographies!
First, begin by modeling how to take the film strips we created at the beginning of the week and turn them into a published writing copy.
For their final work, students will craft a video camera booklet and staple their completed film strip pages inside. Being sure that each page or event is in the correct logical order.
Finally, they get to treat their classmates to a private viewing! Have your students break off into groups or as a class and allow them to share their stories or just the highlights.
In 5 days, your students will have a solid grasp on brainstorming, writing, revising, editing, and publishing autobiographies using these movie-themed autobiography activities!
With this cinematic way to teach students how to write autobiographies, students will have a blast talking all about themselves and getting to know each of their classmates… and you!
{You can find all of the activities for teaching students how to write autobiographies mentioned in this post (plus much more!) inside the Write On! Writing Lessons for Autobiographies and Biographies Unit in my TPT shop here.}
Looking for a writing FREEBIE? Check out THIS post for a how-to writing template!

Hey, y’all! My name is Amy Lemons and I am passionate about providing students with both engaging and effective standards-based Math and ELA lessons.

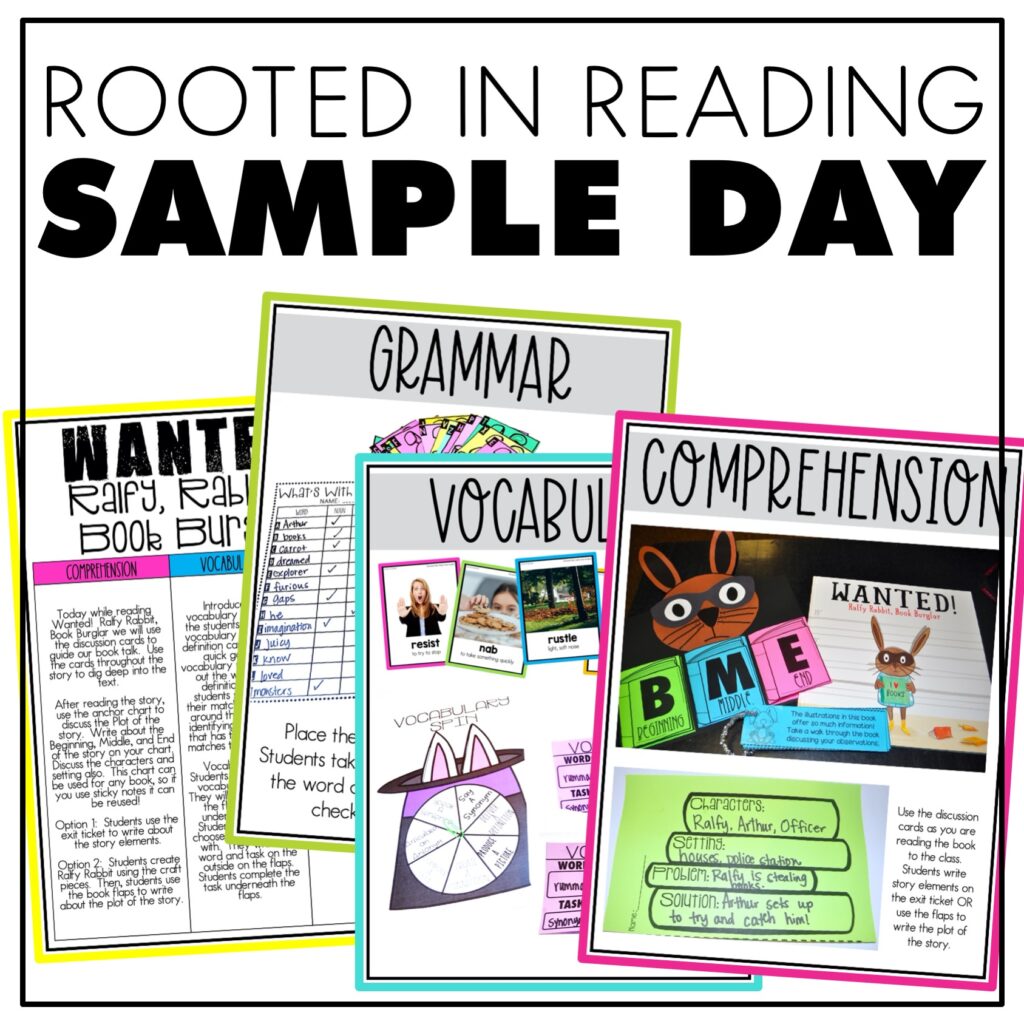
Sample a day of Rooted in Reading with these lesson plans and activities for Reading Comprehension, Vocabulary, and Grammar!