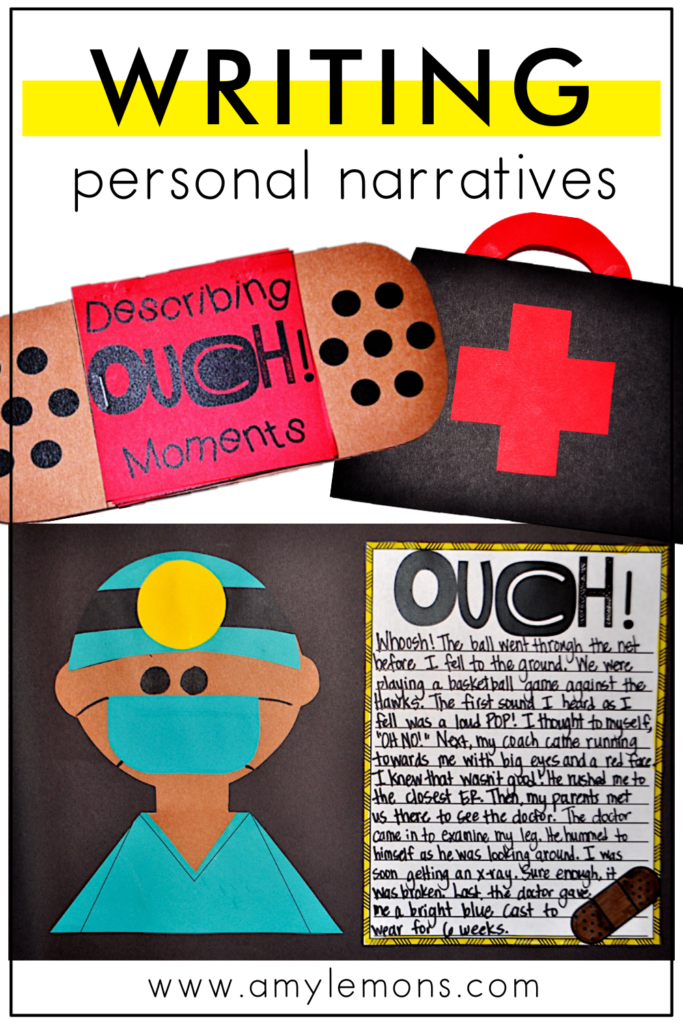
Teaching writing is hard. It’s hard because you have to find a way to show and encourage students to move past the surface level. Kids tend to be very cut-and-dry or all over the place in their writing, so you may struggle with teaching them how to add more relevant details to their personal narrative writing.
It’s natural since they lack the personal experiences we’ve had. We just have to model and practice until they get the hang of it. I like to think that narrative writing is the easiest type of writing for students to grasp.
Children with vivid imaginations just HAVE to tell us all of the things that happen throughout their day, even the ones they should probably keep to themselves.
My goal is to share effective strategies for how to teach personal narrative writing to your students in a structured and useful way.
Here’s a look at how we use our Write On program to teach narrative writing to kids.
Before you begin your lesson, show students what narrative writing looks like. The best way to model is using a mentor text.
Using the mentor text, you’ll share stories that model the way personal narratives should flow. You will want to pay special attention to how the writer goes into detail about events.
Another useful way to model is to create a narrative as a class. You can talk with your students about a particular event that has happened in the school year whether big or small and show them how to elaborate.
It’s especially important to help students understand that even small events can be written about in detail.
The first step to any form of writing is brainstorming. For personal narrative writing, it’s the perfect time for students to go through all of those little ideas in their heads.
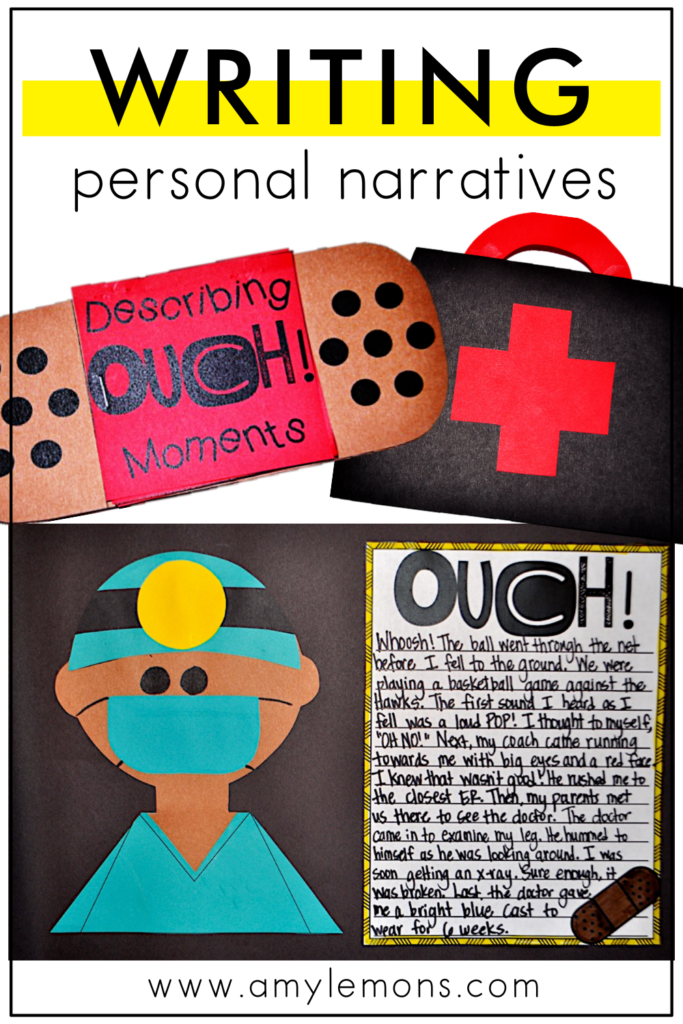
In our Write On program for personal narrative writing, we chose to have students write about a time they were sick. During the brainstorming phase, students can begin to think about the many times they were sick or hurt.
We use a personal narrative writing anchor chart to help jot down their ideas as a class. And something tells me you won’t have any issues with your students generating ideas! To stay on theme, we use little band-aids for our charts
During the first day, brainstorming a plethora of ideas is the only thing students should focus on.
The most difficult phase in the narrative writing process is getting students to write in detail. It’s not enough to say “I am sad.” We have to show through our writing what that sadness looks like.
To begin, use writing posters that model what writing in detail looks like. Go over them with the students and show them how the sentences are different and why the sentences with more detail are better.
The next step is to work as a class on adding adjectives to sentences. You can use the small events that were documented during the anchor chart class discussion from the previous day to practice detailed sentences.
Here’s an example using our prompt for writing about a time you were sick or hurt.
In this case, students are going into details about what their sadness looked like. This is one of the most crucial steps in personal narrative writing and can be difficult to teach.
The best thing you can do is model, model, model.
Going into detail gets heavy, so the next thing we will want to do is take a step back from the details and start to think about how the story should be organized.
This is where our narrative graphic organizers come into play. But first, consider modeling how to order events using a sequence anchor chart.
You have to guide your students in focusing on one specific moment. In our Write On unit, we ask students to go back to their brainstorming sheets and pick one small event from the list of times they were hurt or sick.
Now, we will begin to introduce transition words. We like to start with easy transitions using first, next, then, and last. These transition words are easy for students to grasp and help to set the tone for how to think about their narratives in terms of a sequence of events.
Students will use their narrative graphic organizers to discuss what happened leading up to the event, the specific event, and the aftermath.
Editing is a tedious part of the writing phase that is often met with resistance. Students have to skim down their writing to make it less fluffy or they may need to add new words for more variety in their text.
One way to assist students with this process is to begin introducing new words and having students think about how they can add them to their writing as they edit.
Rather than have students go straight into editing their work, try an editing game! During our writing on describing a time students were hurt, we play a game of operation to teach students how to use reflexive pronouns.
You could do something similar for other word classes you may need to go over with your students.
Here’s how you can play the game.
After adding words and making their writing better, students can move on to the final editing phase. In the final phase, students will look for specific areas of focus including capitalization, punctuation, and spelling.
After reading through their writing, you can have your students use highlighters to highlight areas that need to be fixed. Use varying colors as keys for each area they are focusing on.
For example, use blue for capitalization, pink for punctuation, and yellow for spelling.
Students will read through their writing and check for capital letters and highlight capitals or where capitals should be blue.
Then, they do the same thing with punctuation and a pink highlighter/marker/crayon.
The last thing they will check for is spelling. If they are unsure of the spelling of a word, students highlight that word yellow so they can check the spelling and correct it for their final piece.
Next comes publishing day! Before students go through their edits and rewrite their final piece, you should help model how it works first.
Grab your rubric and the rough draft you created to model writing at the beginning of the lesson. Go through the piece step by step showing the students how to correct the errors they’ve identified.
Reinforce the goal to your students: To write the published piece error-free!
In the end, students will go over their work, edit, and publish their final piece. Sticking with the “Ouch” theme, have students craft a patient file and doctor image to hold their writing.
Then, they can share their favorite part with the class!
Check out these Writing Lessons for Personal Narratives!

Hey, y’all! My name is Amy Lemons and I am passionate about providing students with both engaging and effective standards-based Math and ELA lessons.
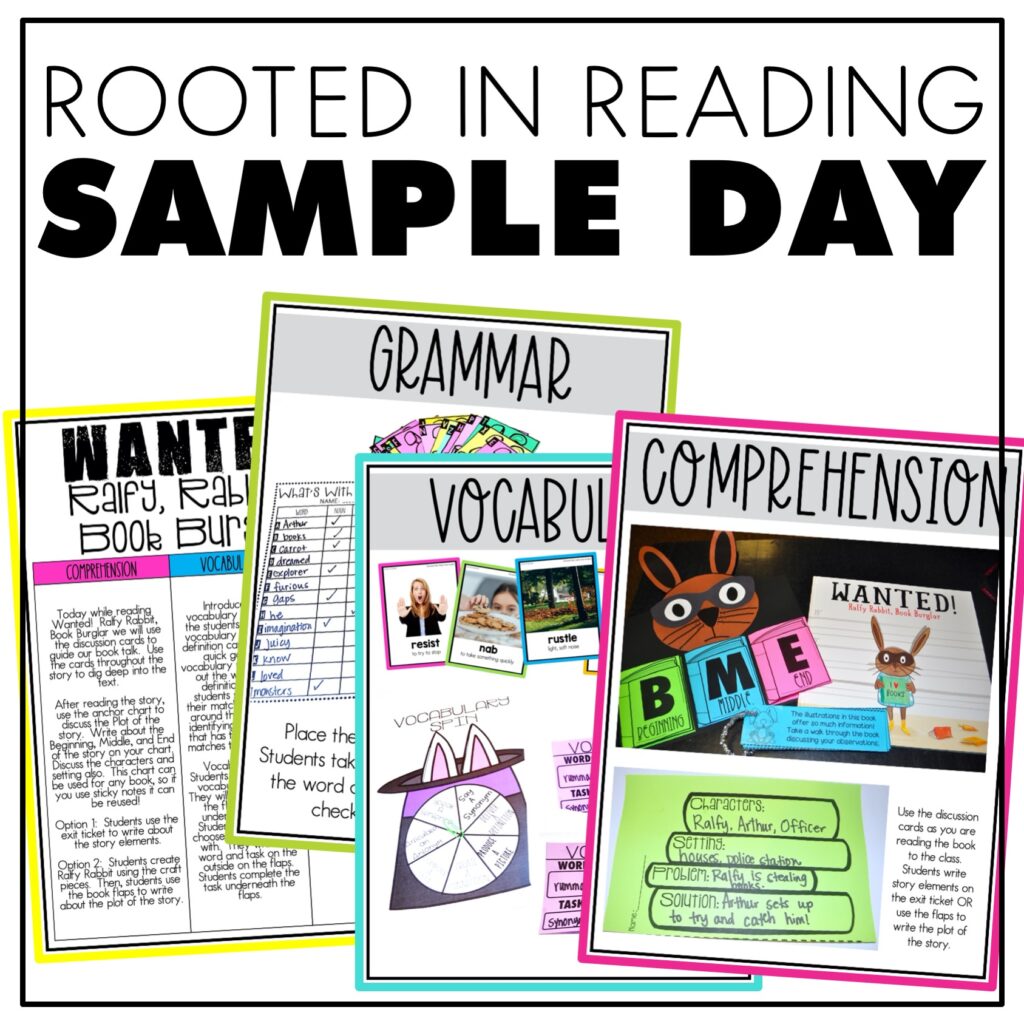
Sample a day of Rooted in Reading with these lesson plans and activities for Reading Comprehension, Vocabulary, and Grammar!
