Ending the school year indeed calls for celebration but after a year of doing all of the things for your students, you may not exactly be in the mood for planning, prepping, and prodding. You just need easy ideas for end-of-the-year activities that won’t cause too much fuss so you can end the school year strong.
Planning an end-of-the-year celebration or finding end-of-the-year activities that will keep your students occupied for the last week or so of school doesn’t have to be a challenge. And you could even make them memorable without stressing about too many minor details.
I have 3 tips plus a bonus end-of-the-year activity to help you do just that so you can end the school year strong.

Finishing the school year shouldn’t go unnoticed. While I’m not suggesting you need to go with an all-out room transformation, there are some really simple touches you can do to build excitement for your students.

Set up a simple celebration wall with a CELEBRATE banner and balloons! Use the balloons to reveal what activity you’ll be completing each day by placing a strip of paper with the name of the activity in each balloon.
Pop a balloon each day to reveal the activity of the day! You could also skip the balloons and just use the celebration wall as an anchor for the week.
We do something similar in our End of the Year stem challenges and activities resource. You can have each letter of the celebration banner correlate to one of the activities and each day you can uncover a letter of the banner to reveal the activity of the day.
It’s just a fun way to get everyone excited for the end of the year!

Have you ever set up an end-of-the-year photo booth? It is so simple yet makes a huge impact on students! I mean, who doesn’t love a good photo op?!
Simply find a blank wall, line it with paper, and grab this FREE photo booth template to set up your backdrop! Then, share those fun photos with your students and their families.

One of the more difficult circumstances of the last days of school is trying to find end-of-the-year activities that can keep students engaged and still interested in learning when they know that Summer is so close.
To be honest, teachers could probably use a little motivation, too. The most important thing to note is activities for the end of the year need to be simple. No one has the energy for full-out lesson plans or too rigorous activities.
You can still keep the learning going while keeping it simple. Here are a few ideas.

Review booklets are the perfect solution for checking comprehension, keeping students in learning mode, and having a simple activity for students to do independently while you handle other important tasks – like the not-so-fun task of breaking down your classroom.
The key to making review booklets a less tedious task for yourself and your students is to ensure the pages are slimmed down. That means having only a handful of questions for each skill, whether it’s math or grammar.
If you’d like to get an idea of what this looks like, I have a FREE sample of our review booklet that can be used for the end of 2nd grade or the beginning of 3rd.
You could also use the review booklet as an end-of-the-year student gift! Just add a bow and a pencil.

I am a sucker for directed drawings throughout the school year but I know time doesn’t always allow it. When you’ve got a little more time on your hands at the end of the school year, you can really take advantage!
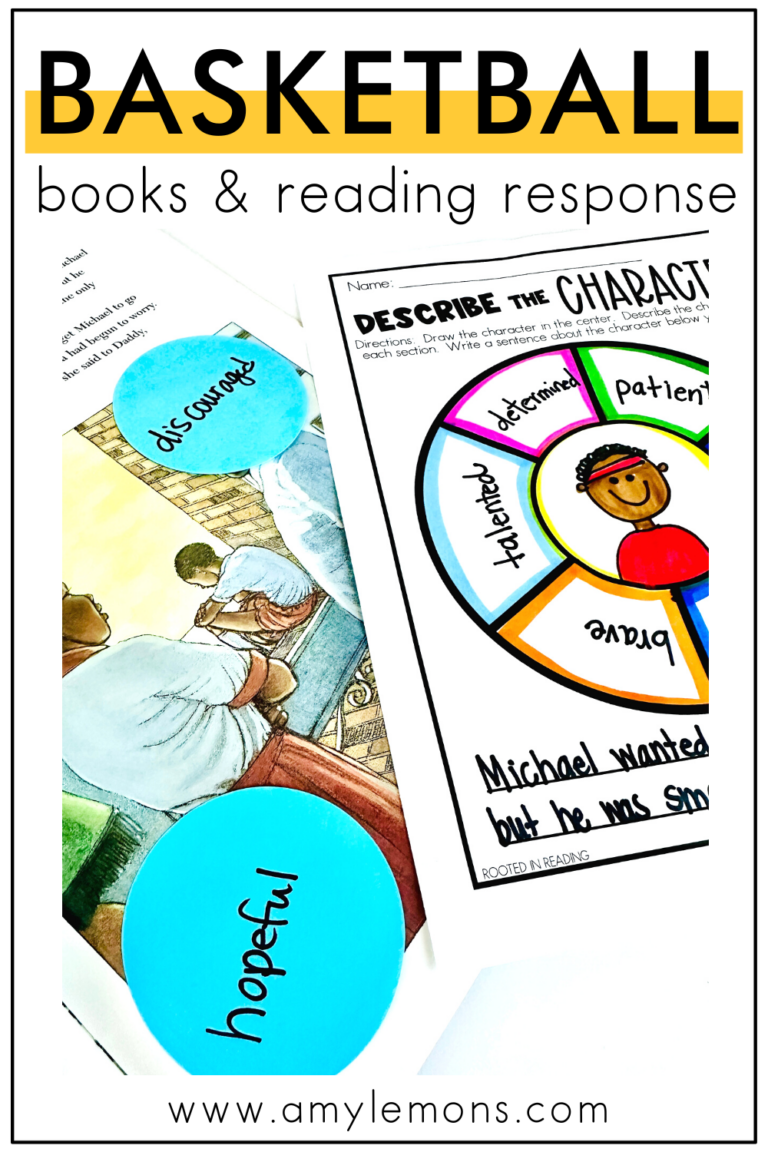
Pair your drawings with a fun Summer book and have your students write about the stories. There are tons of ways you can incorporate directed drawings into your lesson plans and you can really up the excitement by using summer-themed templates.

No prep math stations are an easy option when you need something that’s print-and-go!
I’m sure that for most teachers, the thought of prepping anything when you only have a few days left feels daunting. Instead, opt for easy plug-and-play math stations that students rotate throughout the week.
Make it an exciting experience by considering engaging Summer themes. Students can practice a variety of math skills in a fun way as they get ready for a new skill year.

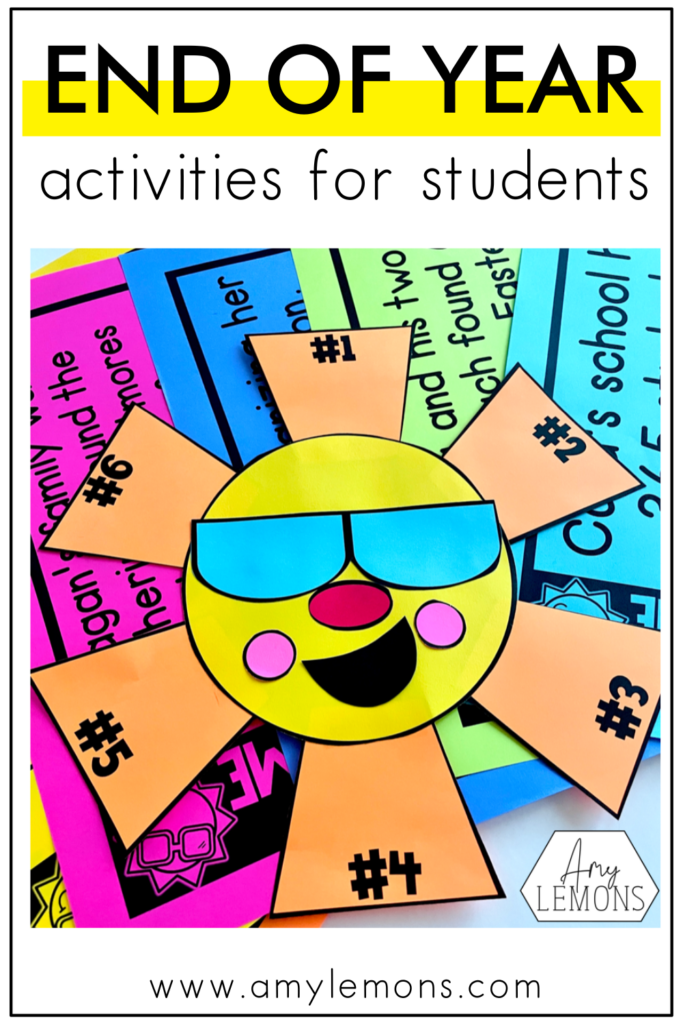
The most important part of ending the school year is how excited everyone is for Summer! I like to incorporate a ton of fun Summer inspired activities that they can do in the classroom and take home with them, too.

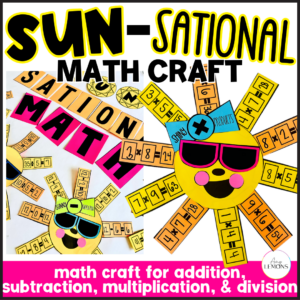
It wouldn’t be Summer without the sun! Bring the sun into the classroom with this sun craft turned math activity!
Similar to our full Solve to Create activities, students will solve six word problems to earn pieces to craft their own sun friend.
With this activity you can get your students out of their seats by spreading 6 task cards or word problems around the room, then allowing each student to rotate to each section to solve their problems and earn their pieces.
This hands-on experience will be a welcome break since they will definitely be a little antsy while anticipating the last day of school.
I made this activity editable so you can choose to use it for any subject – math, reading, science, etc.

Send your students off to Summer break with a challenge that will actually get them excited to read!
Getting students to read in the Summer can be… well…a challenge. Students aren’t always excited about doing more reading when they want to be engaged in other more physical activities. But that shouldn’t stop you from encouraging them to do it anyway.
With this reading challenge, students will be challenged to read in various locations, with interesting objects, or read new genres. The variations in the challenges help to build anticipation as the students try to decide which to complete next.
You can grab this Summer reading challenge for FREE. If you’re looking for picture book recommendations to end the school year or kick off Summer, check out my favorite Summer picture books.

No matter how difficult or easy the school year may have been, there are so many fun memories to be held onto! From light bulb moments to fun events, students are sure to remember the moments that made them happy to be in your classroom.
So, end the school year strong with a memory book!

This memory book includes 22 memory book pages, a self-portrait directed drawing, a candy writing craft, and a summer bucket list writing craft.
Students will go down memory lane with all the tools they need to document their success! Plus, this is the perfect end-of-the-year activity for students to do independently so you can gain a little time back into your day.
To get started, you can grab a few sample pages of the book down below!
Looking for additional ideas for the end of the school year? Here are 5 activities to celebrate the end of the year!
And don’t forget to save the image below so you don’t forget these easy ideas to end the school year strong!

Hey, y’all! My name is Amy Lemons and I am passionate about providing students with both engaging and effective standards-based Math and ELA lessons.
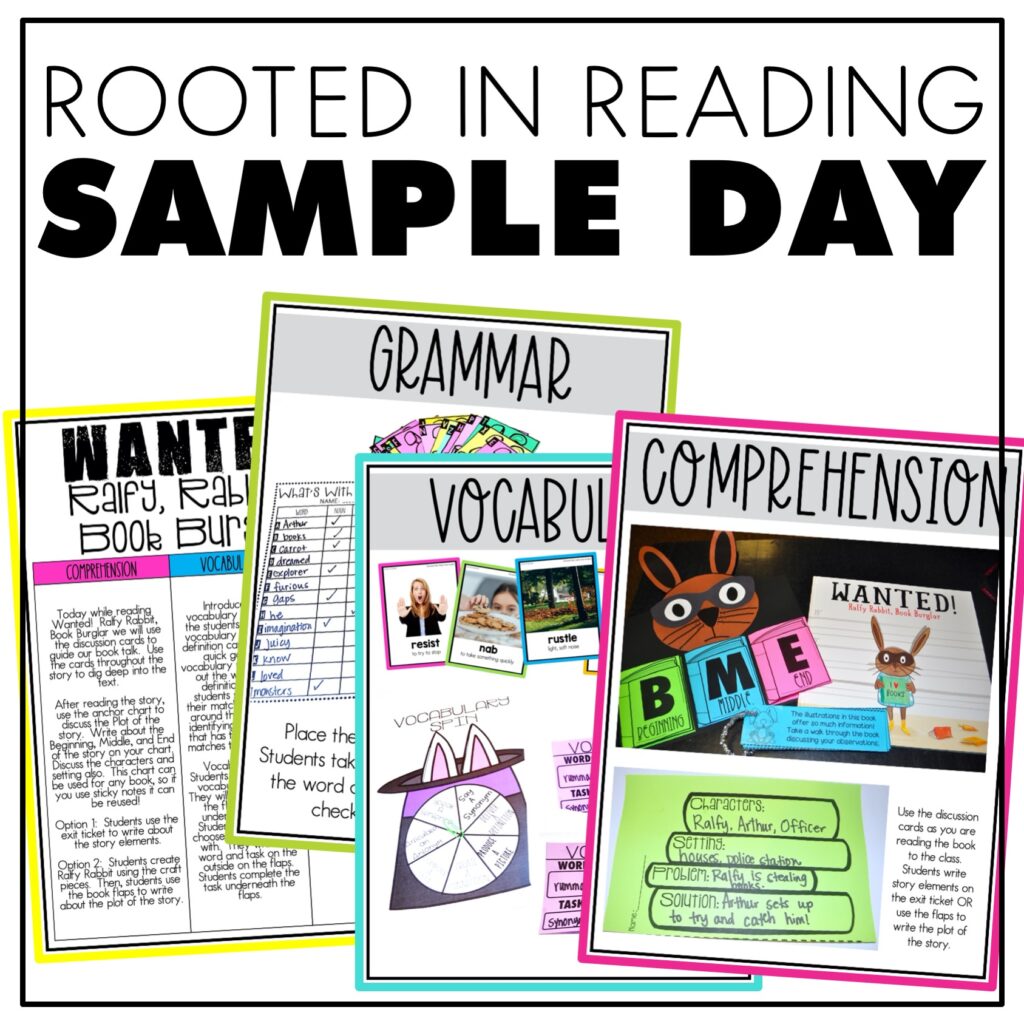
Sample a day of Rooted in Reading with these lesson plans and activities for Reading Comprehension, Vocabulary, and Grammar!


One Response
I love everything Amy Lemons. Thank you for all you do!!!